


shigeta
-
Posts
40 -
Joined
-
Last visited
Content Type
Profiles
Forums
Events
Posts posted by shigeta
-
-
-
Hmmm... It's been a while now. I had to wiggle some stuff around as I was installing and it was a tight fit, but it definitely cleared. Have you adjusted your bar/lever angle at all?@shigeta did you manage to install the backbone without unpluging the clutch safety switch? I cannot get the clamp the line up with the backbone unless i unplug that switch.
-
Great question! I have the factory heated grips, so the instructions should apply directly to you.When Yamaha factory heated hand grips are added, the right hand bar end is changed in the kit. Will The Barkbuster kit work with FJ-09s that have factory heated hand grips? If yes, how?
-
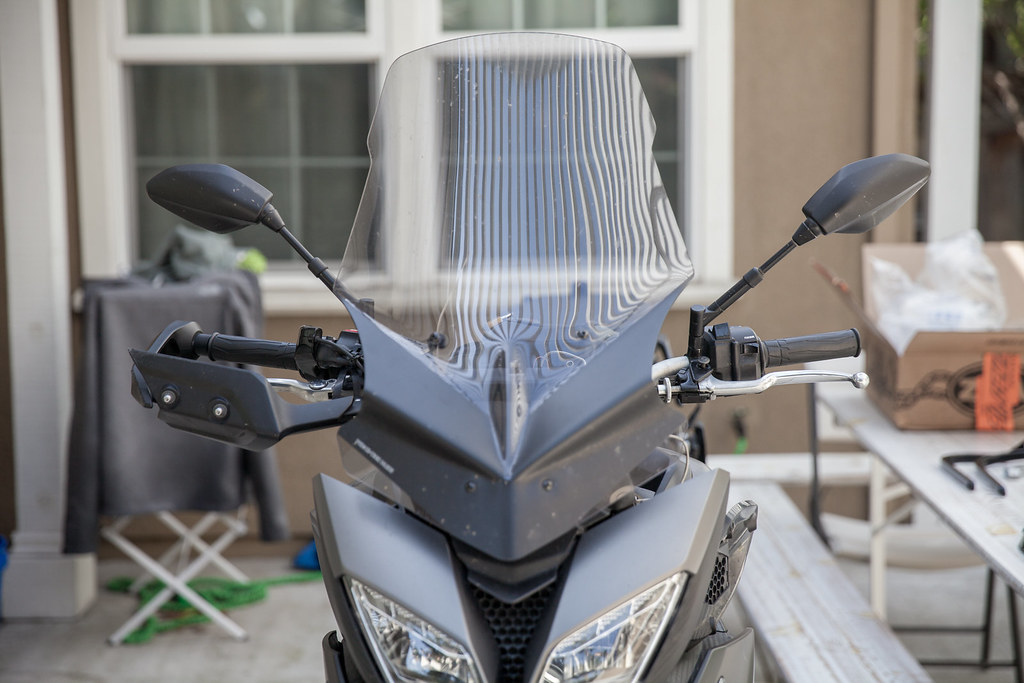
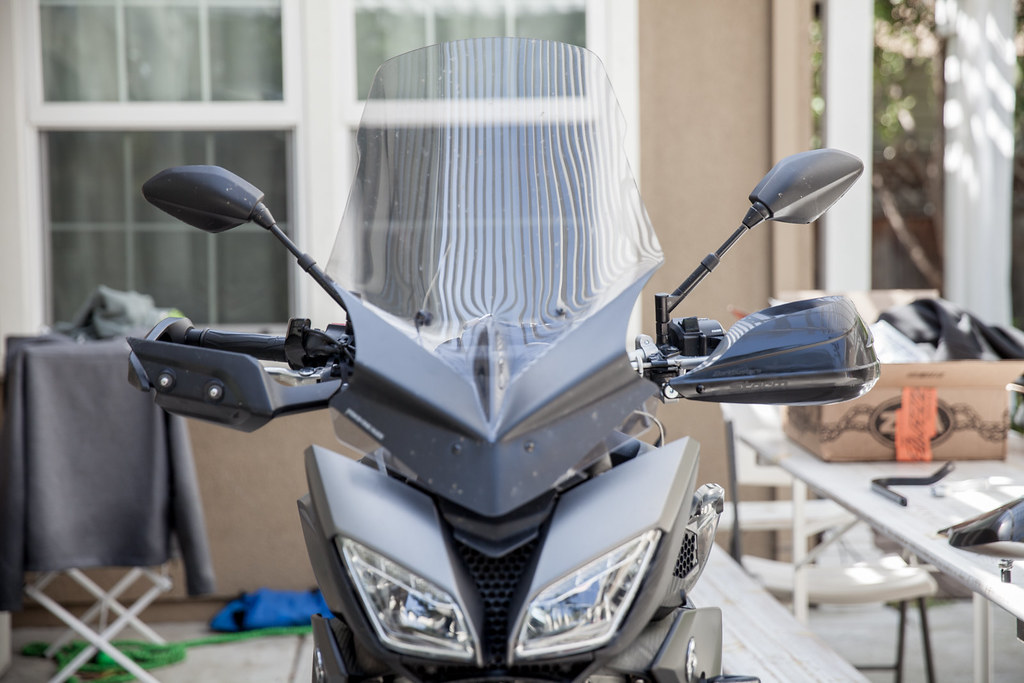
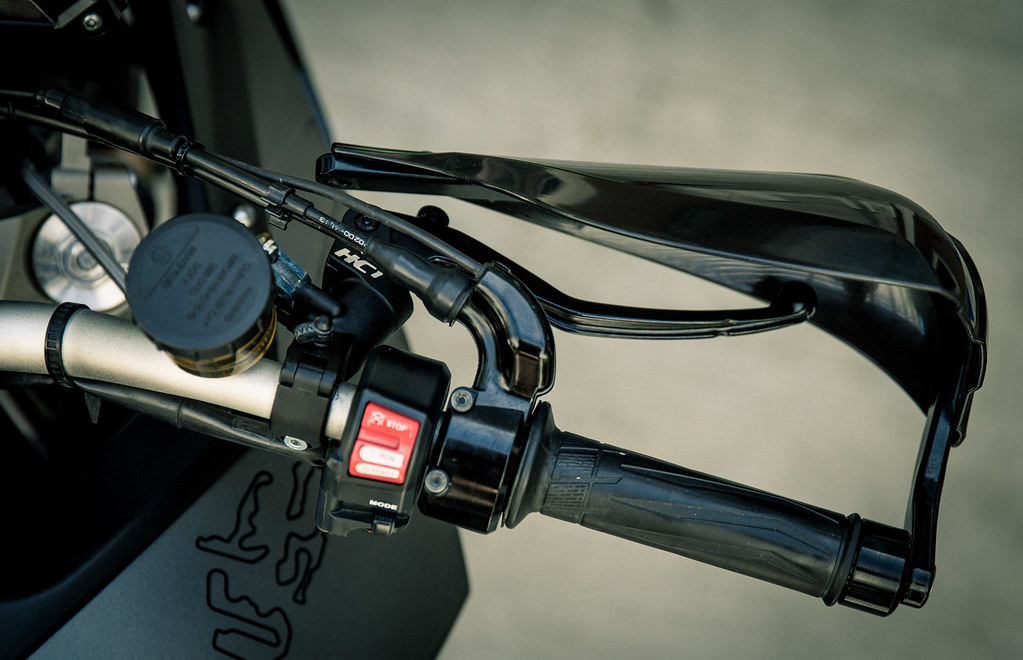
While the FJ-09 isn’t designed to go off-road, I (of course) take it there. The 17″ wheels and low ground clearance means that my pace is slow and the trails are easy, but despite my caution, I had a mild low-side on a trip in AZ last year. Given the design of the bike, it was no surprise that the left hand guard and some plastic bits tore straight off. That’s when I decided I needed some beefier protection. Barkbuster was the first name that came to mind.
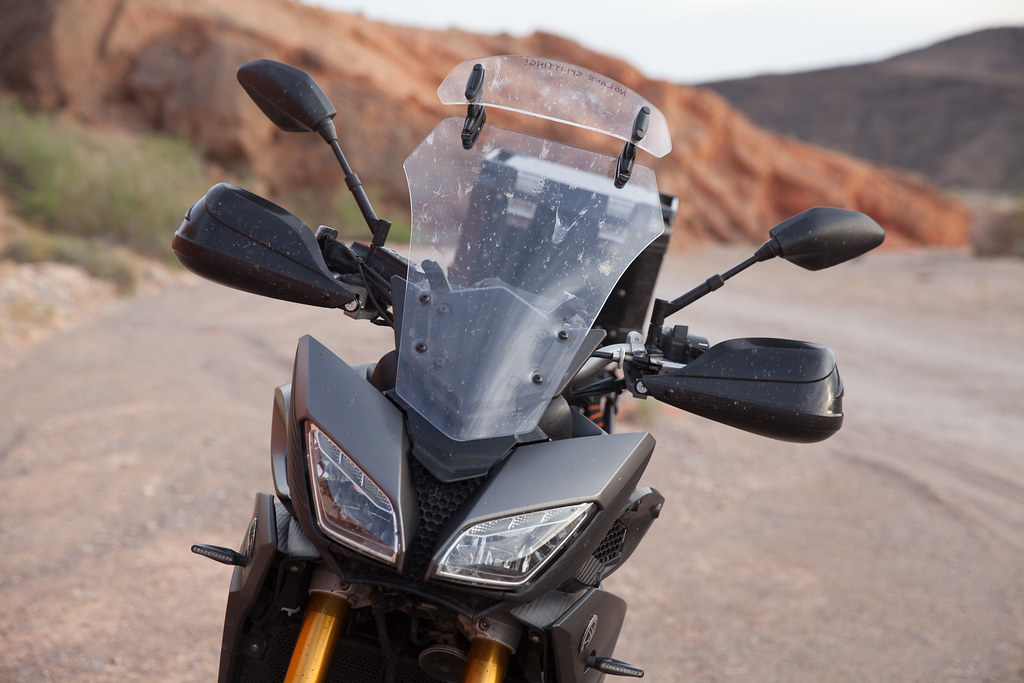
After a few thousand miles with these in temps between 32° and 100°; rain and shine, I can definitely say that they offer superior protection from the elements. I haven’t crash-tested them yet, but the peace of mind from their durability over the stock hand guards in addition to their weather-isolation has made this one of the best mods on my bike so far.
[b style=font-size:large]Enter the Barkbuster Storm Hand Guards.[/b]
[b style=font-size:large]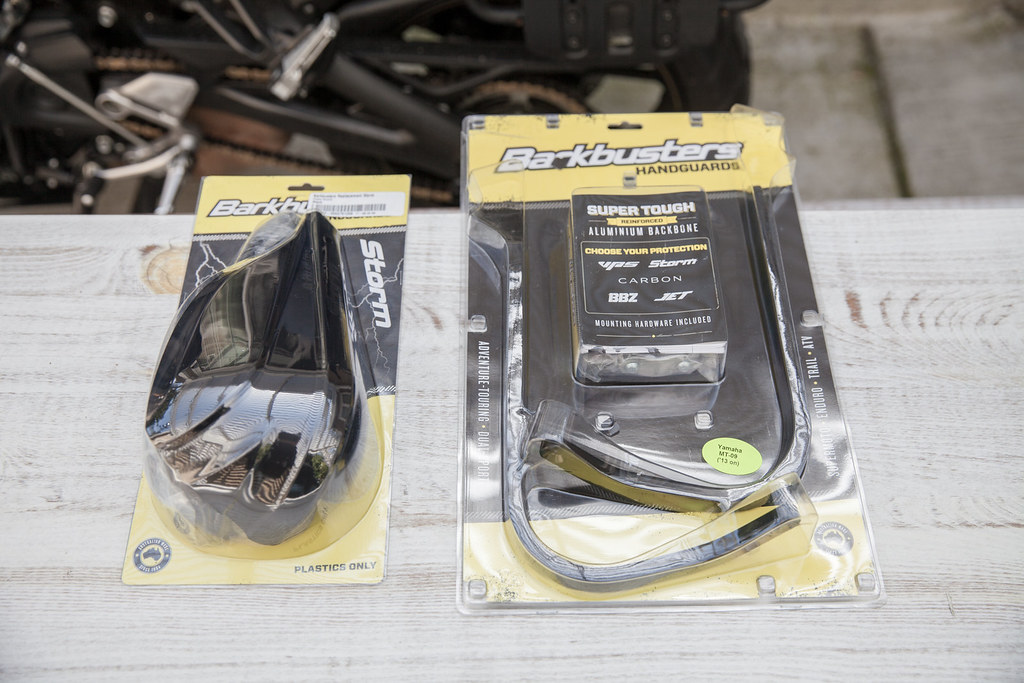 [/b]
[/b]
Barkbuster put together this FJ-09-specific kit which includes everything you need to replace your weak factory plastic hand guards.
The steps are pretty simple:
[ol type=""][*]Remove factory hand guards and threaded inserts
[*]Install Barkbuster threaded inserts
[*]Loosely attach handlebar clamp
[*]Loosely attach backbone to handlebar clamp and threaded insert
[*]Torque to spec
[*]Install handguard plastics
[*]Repeat on opposite side[/ol]
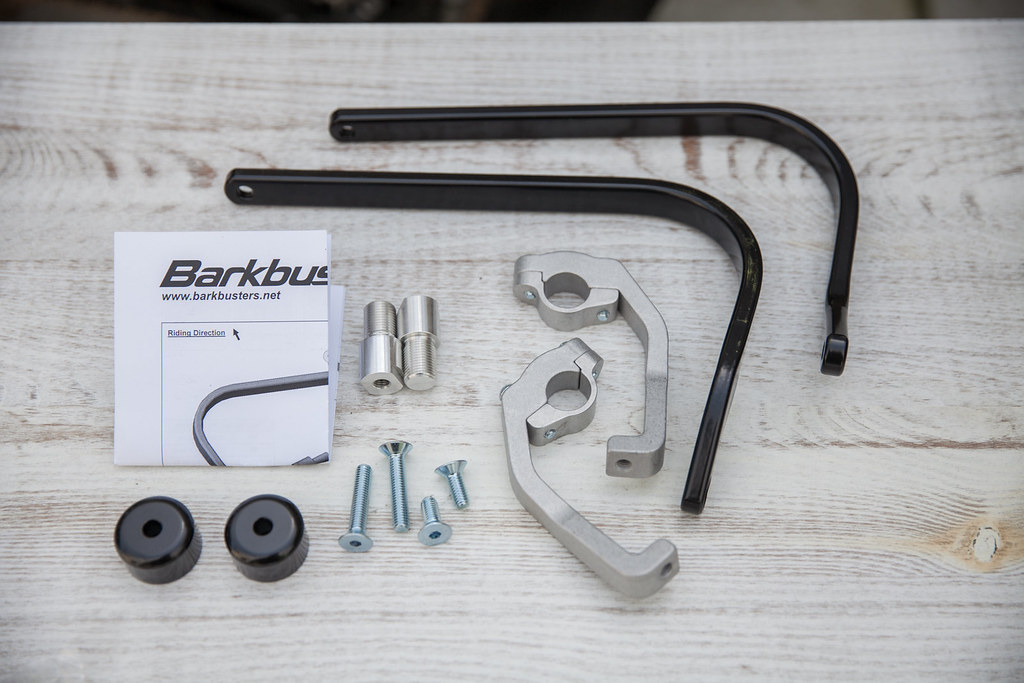
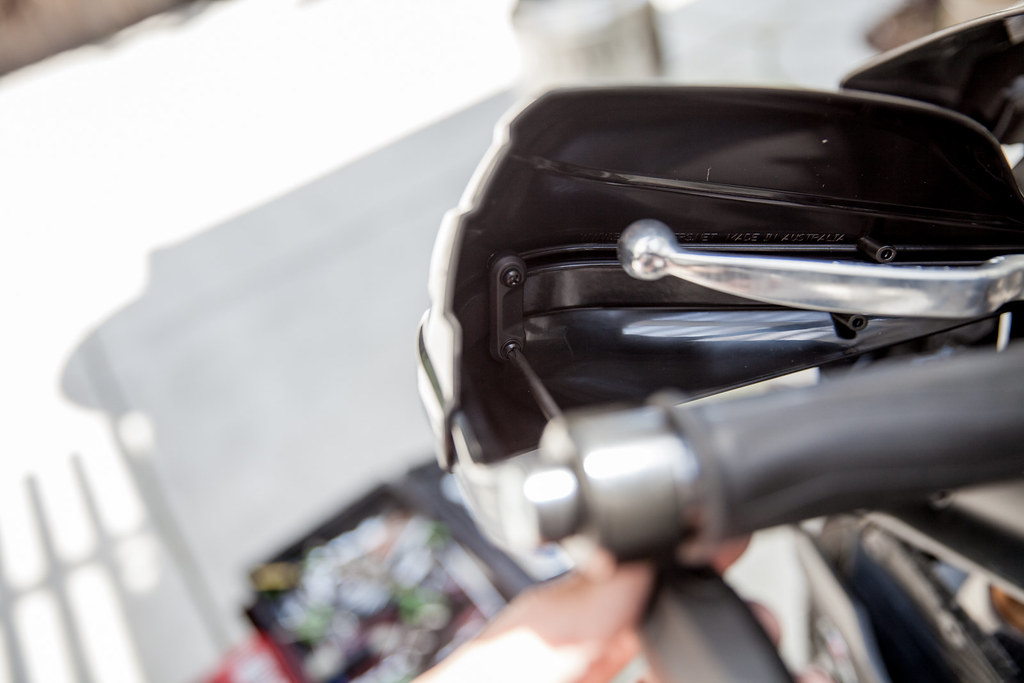
Here are all of the components of the backbone laid out:
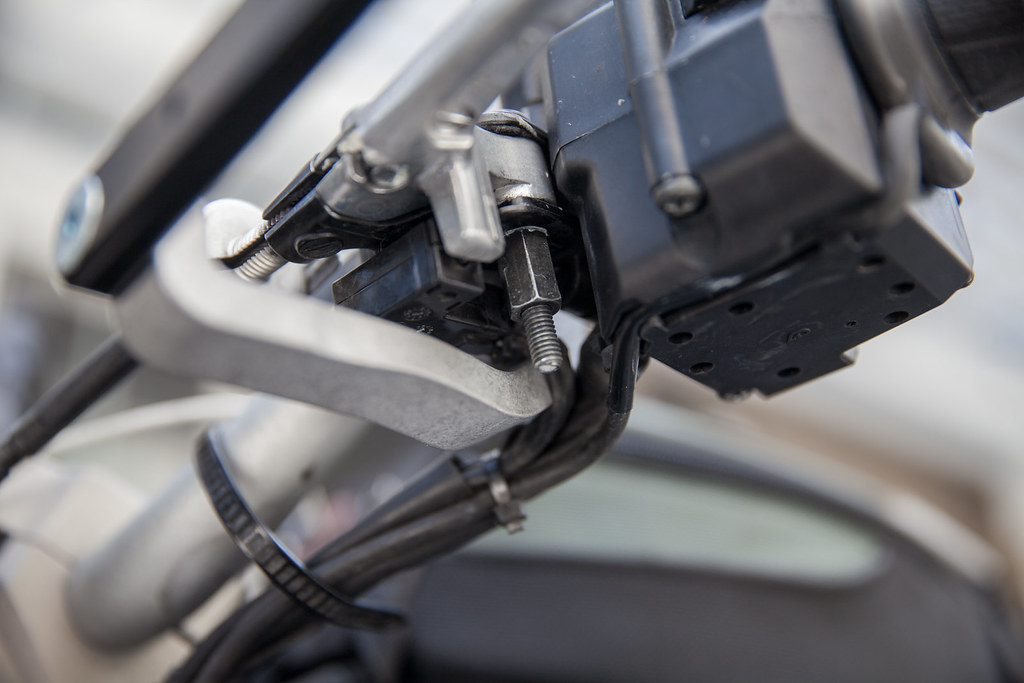
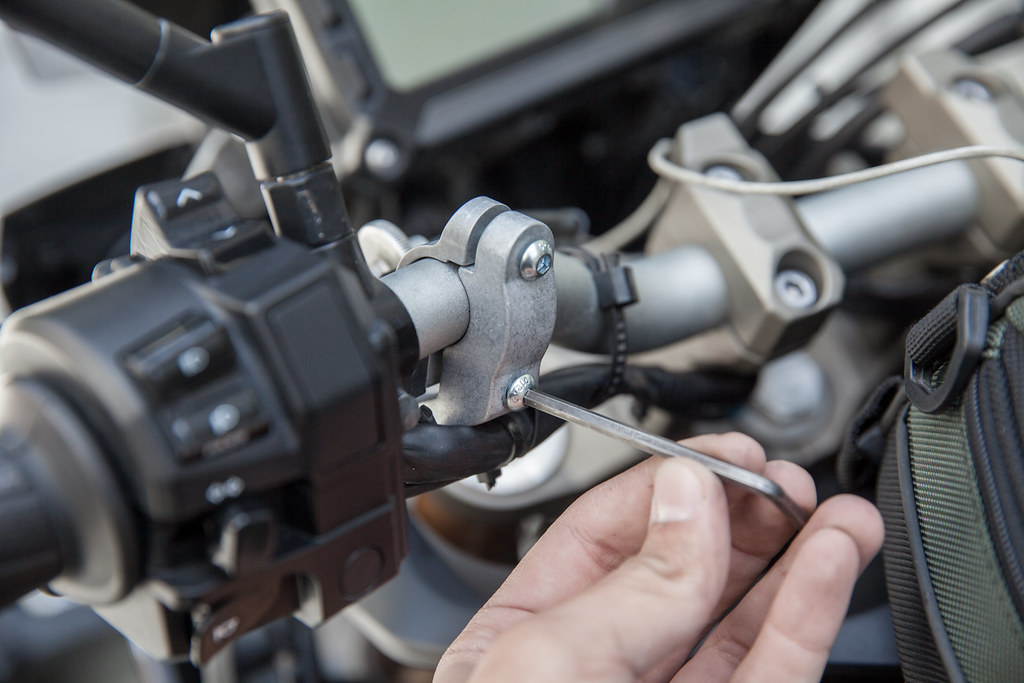
[b style=font-size:x-large]Step 1: Removing Factory Hand Guards and Inserts[/b]
To remove the hand guards, you’ll need to first remove the mirrors and 10mm bolts below the clutch and brake perch holding the hand guard brackets on.
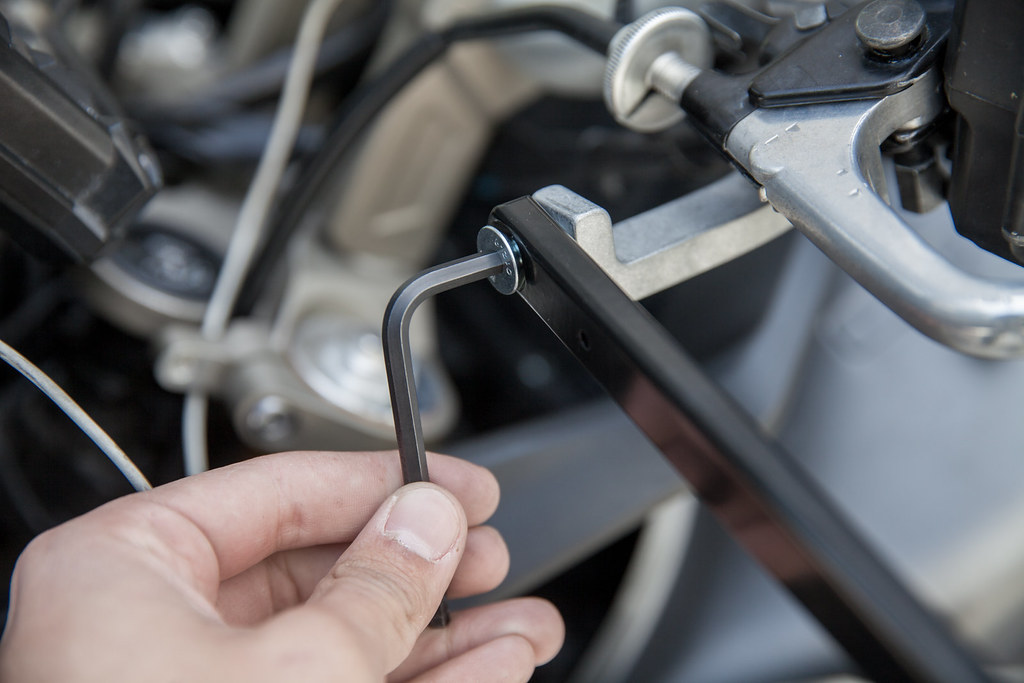
Then, unbolt the allen head bolt from the bar end.
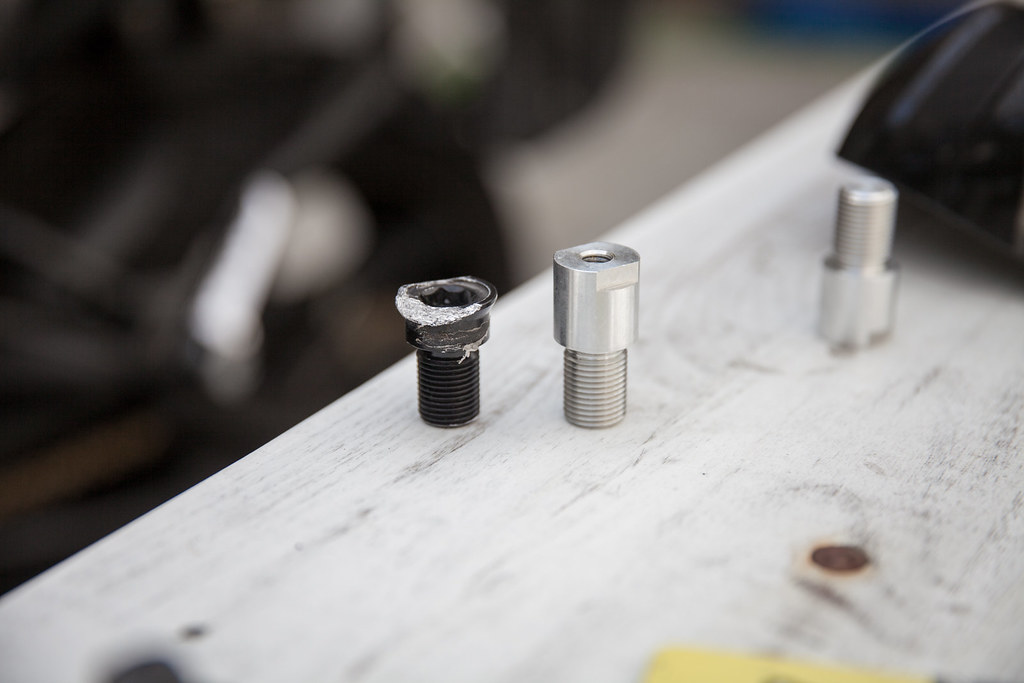
Finally, remove the factory threaded insert using a 12mm hex socket.
Repeat on both sides.

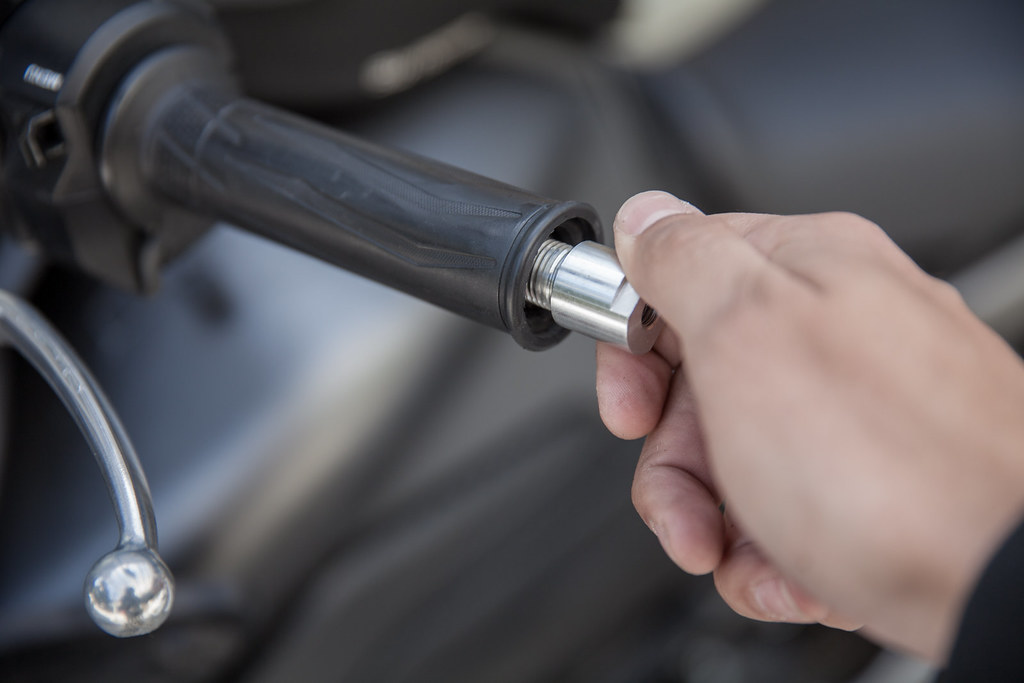
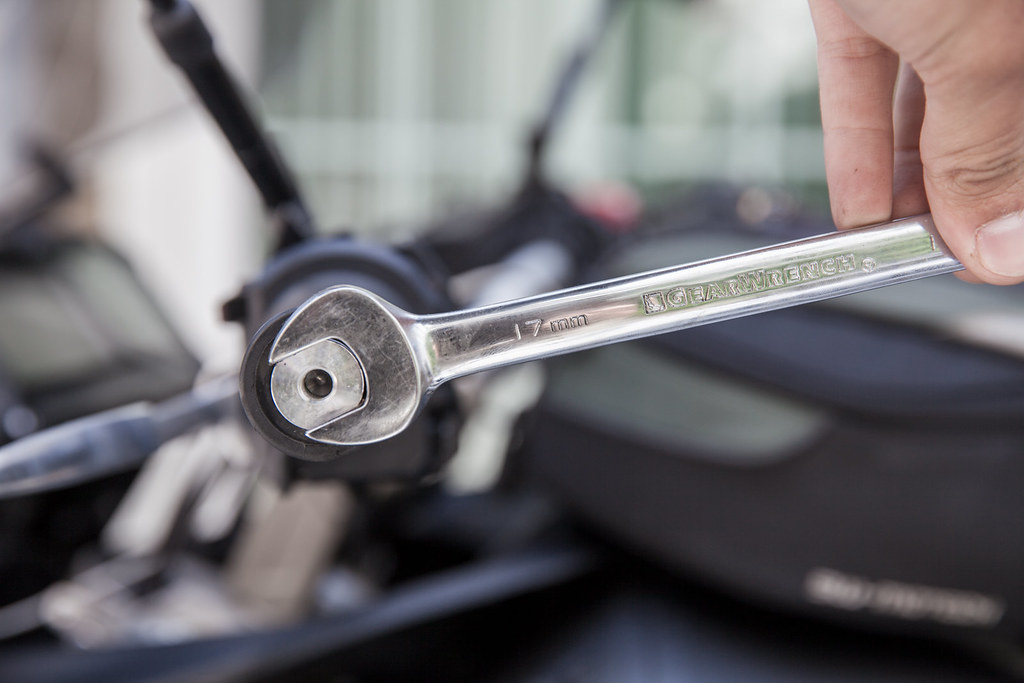
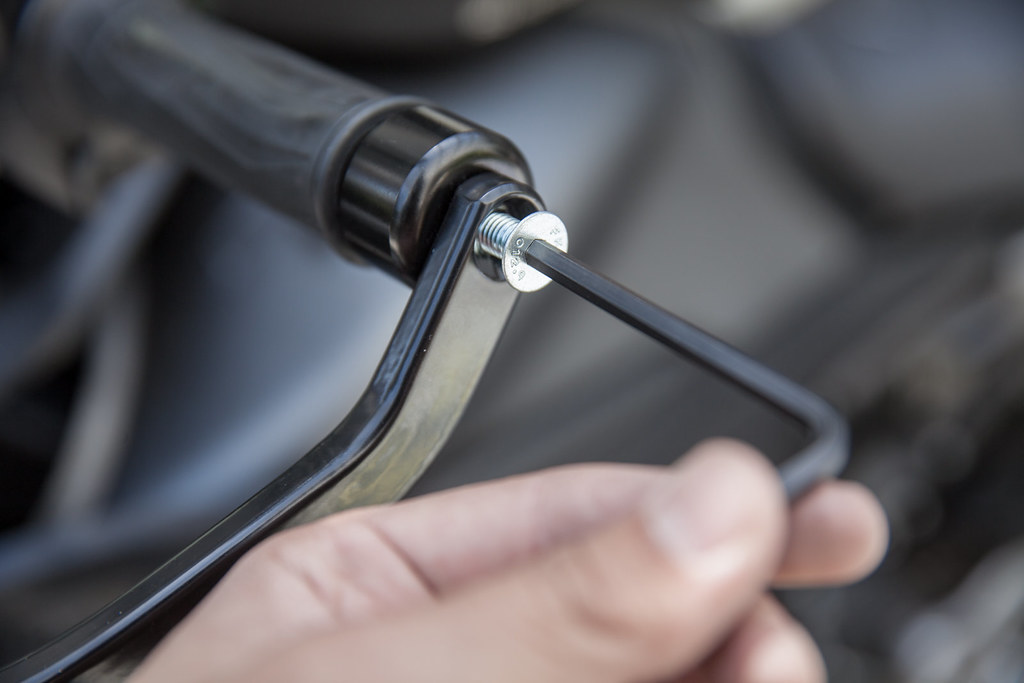
[b style=font-size:x-large]Step 2: Installing the Barkbuster Threaded Insert[/b]
Thread the Barkbuster insert into the bar by hand, then tighten using a 17mm open-end wrench. I torqued this to approximately 25 ft/lb.
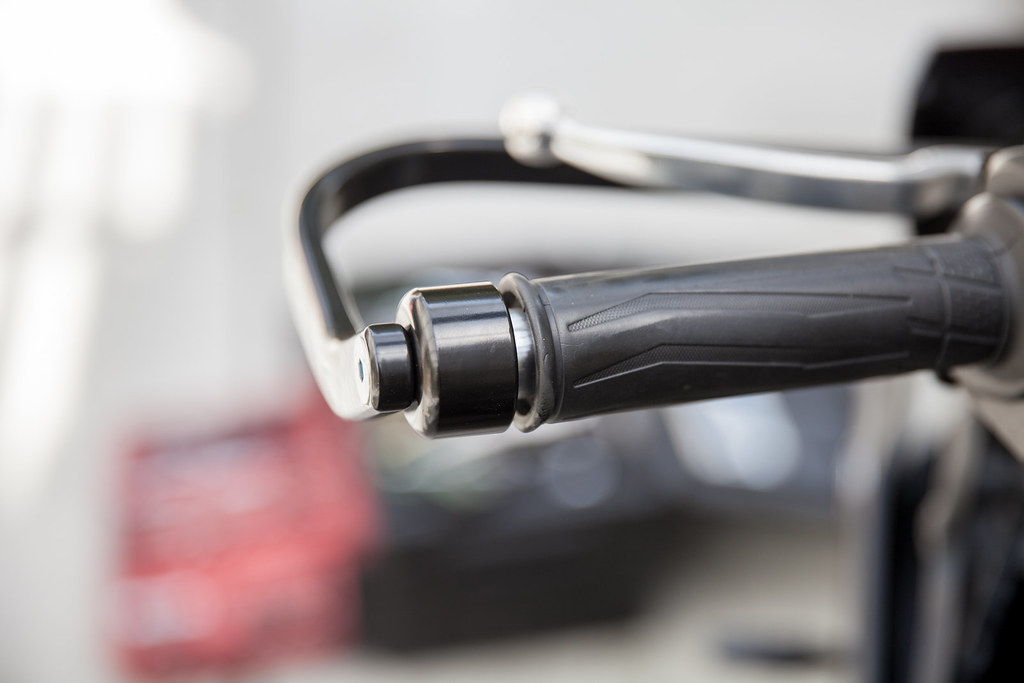
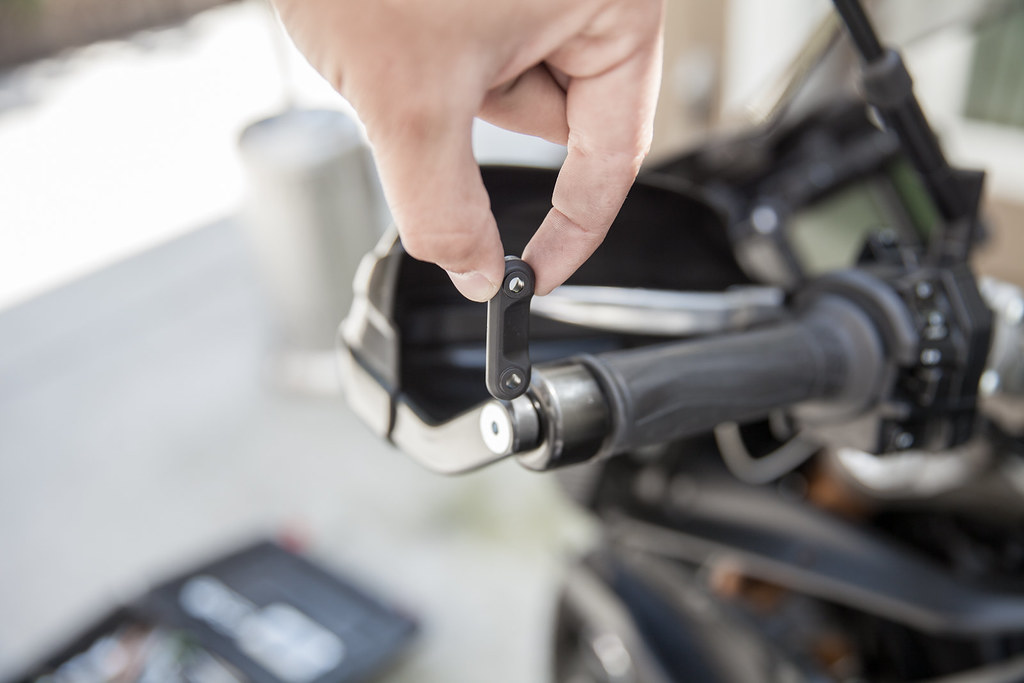
[b style=font-size:x-large]Step 3: Loosely Attach the Handlebar Clamp[/b]
Next, you want to bolt on the clamp that attaches the inside of the backbone to the handlebar.
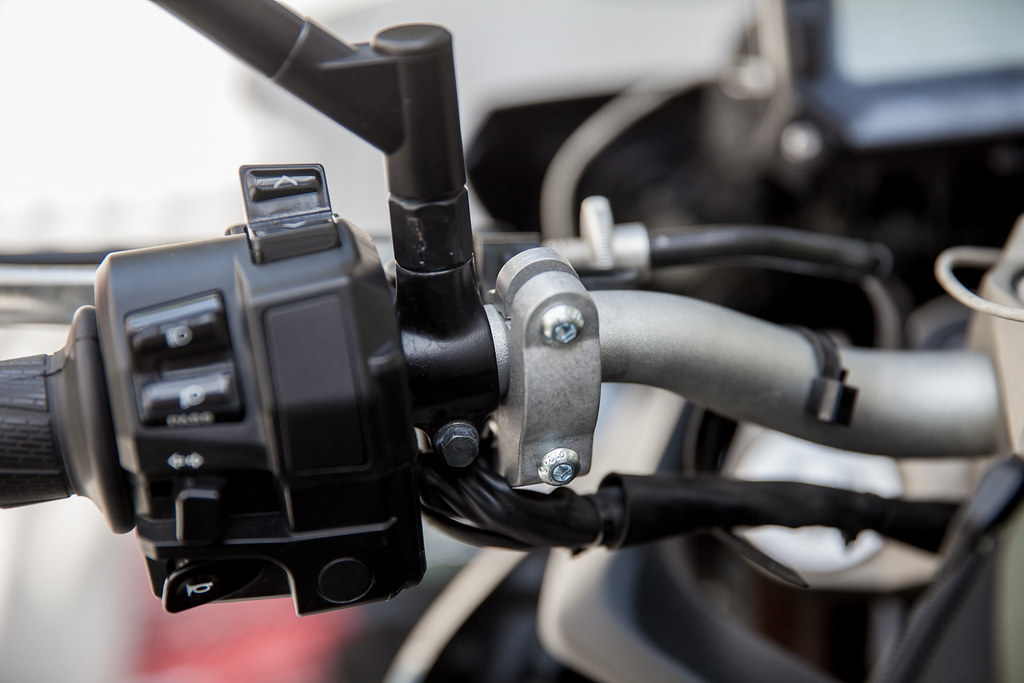
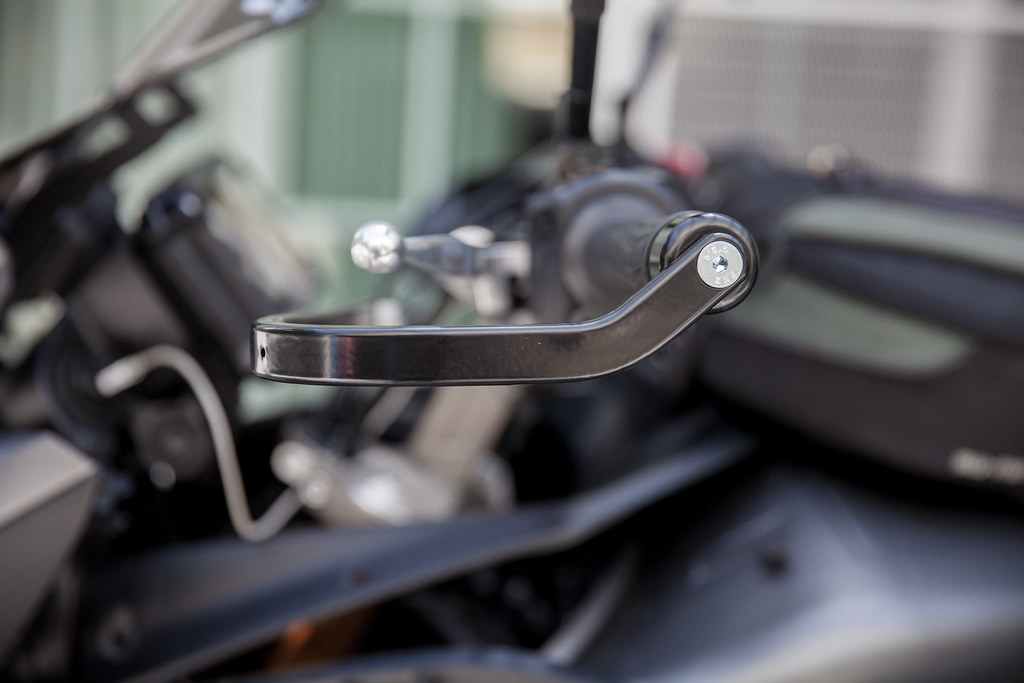
[b style=font-size:x-large]Step 4: Loosely Attach the Hand Guard Backbone[/b]
Now, you want to attach the back bone of the hand guards to 1) the threaded insert in the bar end and 2) the handlebar clamp you just loosely installed.
[b style=font-size:x-large]Step 5: Tighten Everything Down[/b]
Now that the back bone is attached, you can align all the pieces how you want and tighten everything down.

Step 6: Attach the Plastics
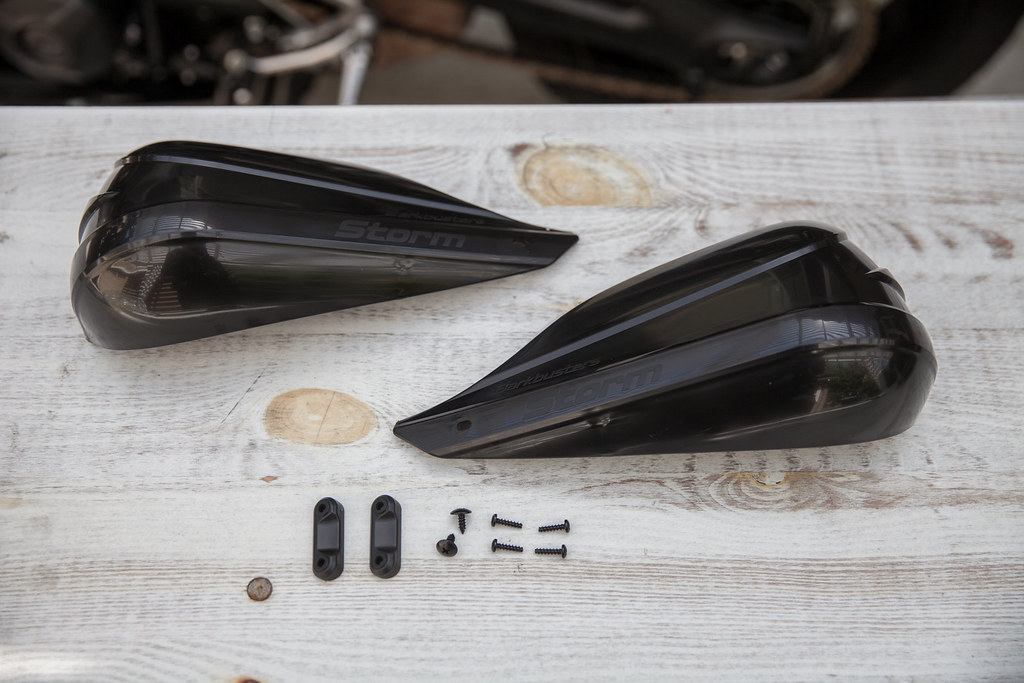
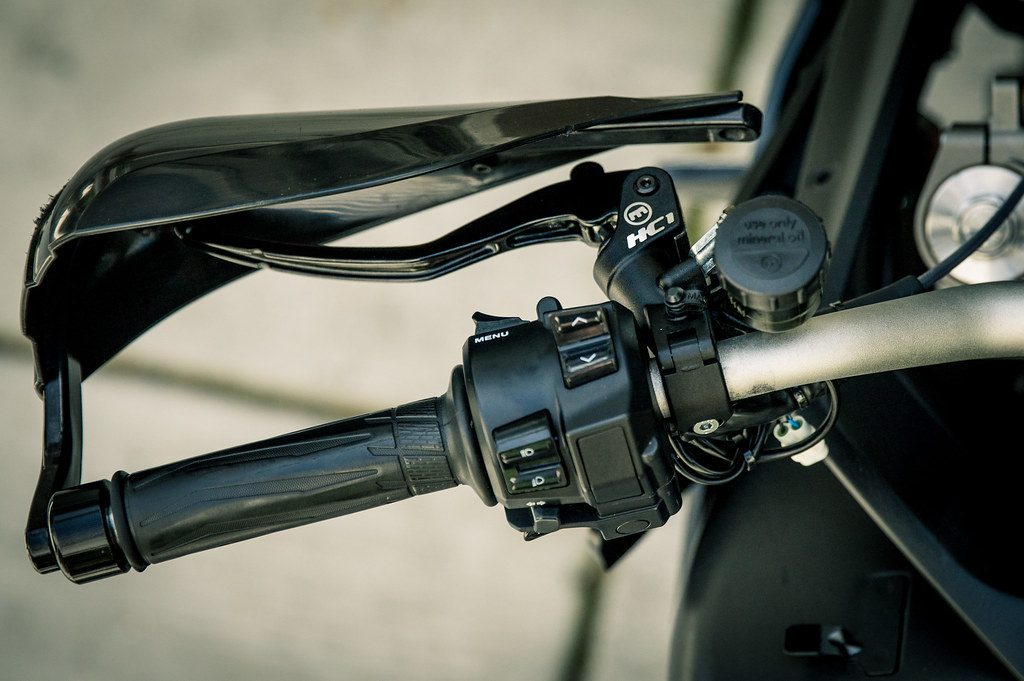
With the Barkbuster system, you can attach any plastics to this back bone—Storm, VPS, JET, or their Carbon pieces. I chose the Storm as they offered the best protection against the elements as well as the most subtle styling.
The plastics come with 6 screws and 2 brackets. Each handguard uses one screw on the front and 2 screws to attach the bracket on the back side.
Align the plastics with the hand guard and install the largest screw using a Phillips driver.
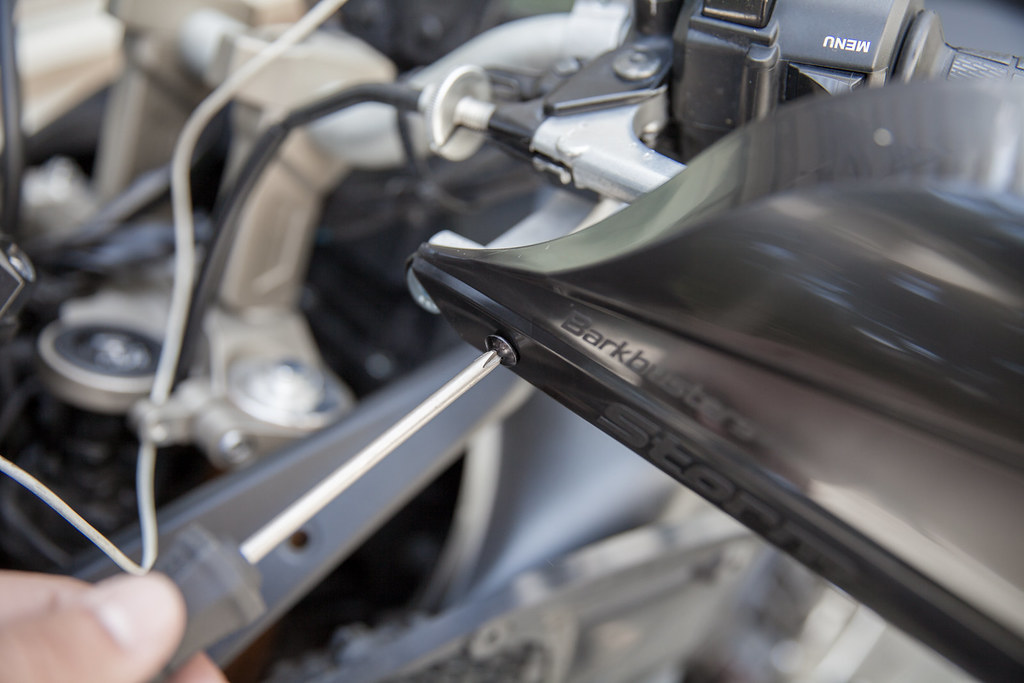
Next line up the bracket on the back side and install its two Phillips screws. This is how the bracket is aligned. If you put it on backwards, it won’t hold the plastics on.
[b style=font-size:x-large]Step 7: Repeat on the Opposite Side
[/b]
Great! You’re done with one side. Rinse and repeat on the other side to complete installation.
-
 2
2
-
 1
1
-
-
-
I understand
 Everyone has different uses. I'm not implying that you're going to be taking on trails at Moab, beating it like an enduro bike.
In your first post, you wrote this: "I need the bike to be able to handle a low speed drop without much drama [...] feel free to comment or make suggestions."
Based on my direct experience, low speed (even no speed) drops result in plastic hand guards (Both the FJ and the KTM hand guards) being broken on the first drop. Since you wanted the bike to be able to withstand low speed drops without damage to the levers, I suggested that you look into metal handguards like the Barkbusters instead of the KTM hand guards.
If you chose the KTM hand guards because they were "easy to fit up and inexpensive," I totally understand and agree, but that isn't in alignment with your original post.
-
What sort of roads do you think you'll find yourself on with TKC-80s?
-
If I find myself dropping the bike enough to worry about my hand guard durability I probably shouldn't be riding on that terrain.
Huh??
Sorry man, that simply doesn't make any sense.
-
Here's a shot of the Barkbuster Storm hand guards. I installed them after I busted up the OEM hand guards in the snow. Not only do they have better crash protection, but they also provide better protection against the weather.
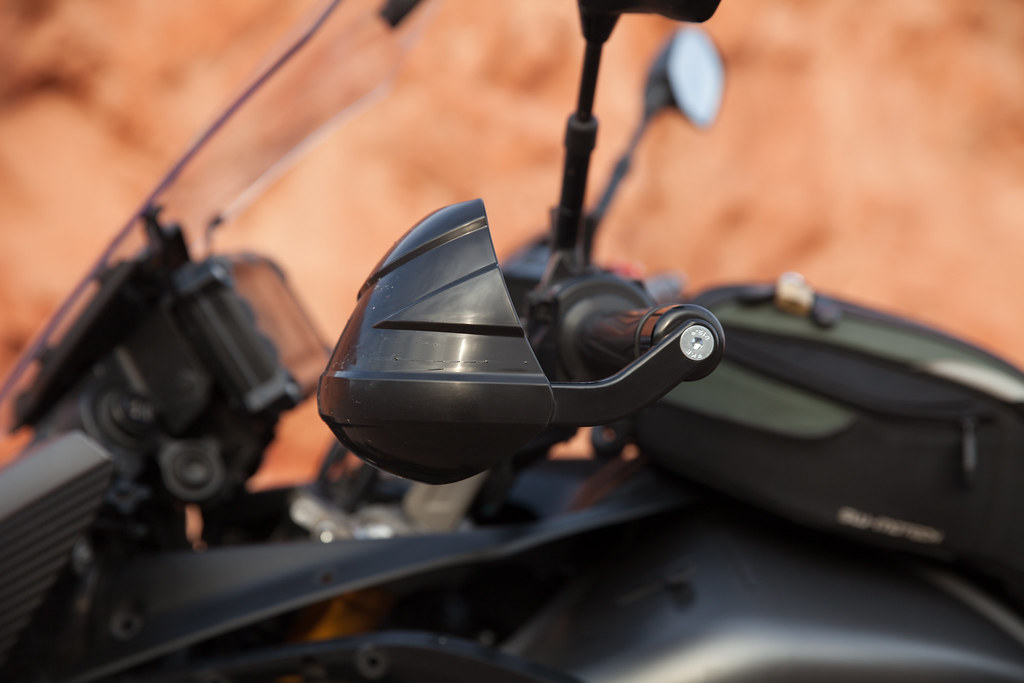
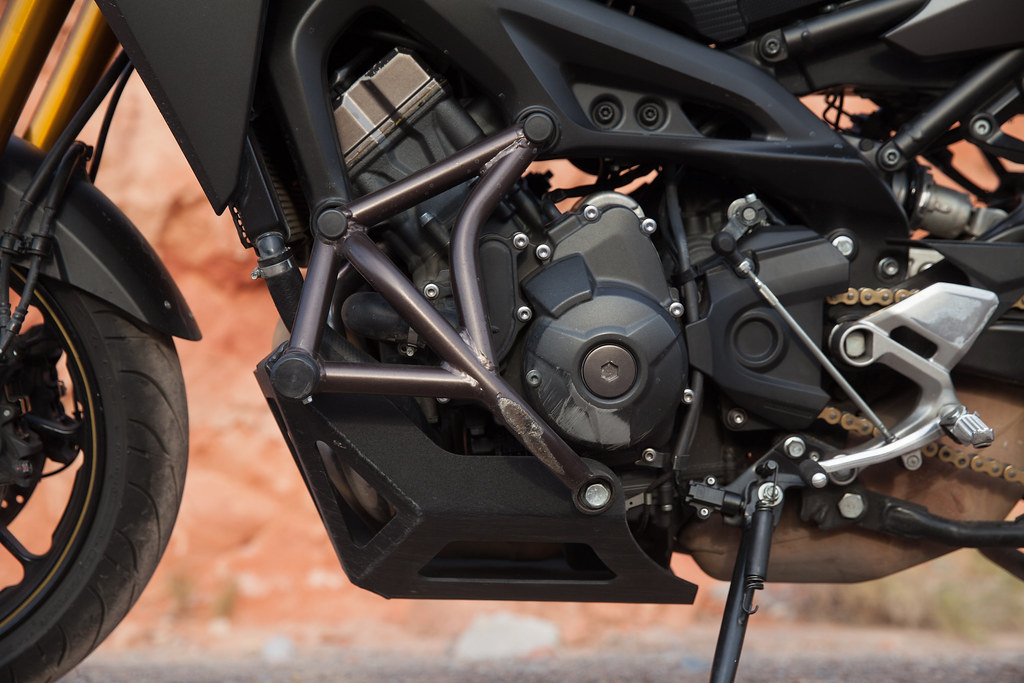
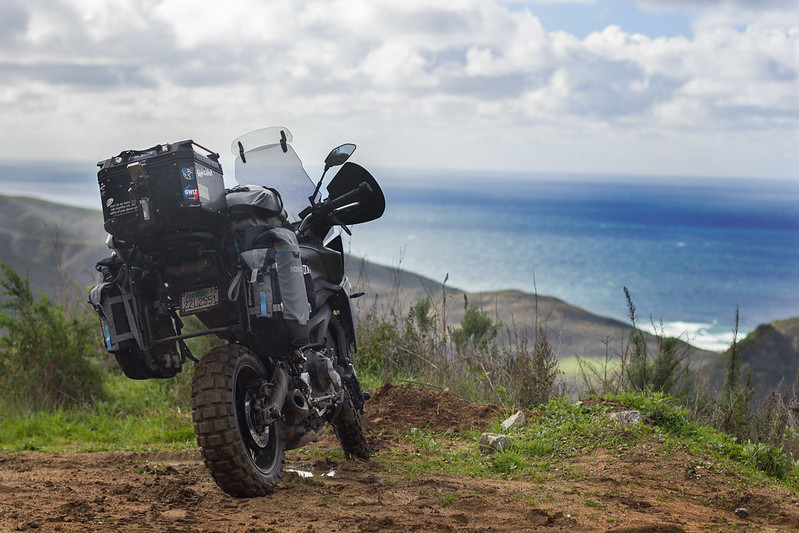
And a quick shot of the cage. 15mph lowside after hitting an oil slick and the only damage was to the cage, OEM hand guard, and plastic shroud on the tank. (Engine paint gone is from a drop in some muddy sand.)
-
Consider the Barkbuster handguards instead of the plastic KTM ones. The plastic stuff just snaps after a fall or two.
https://www.revzilla.com/search?query=FJ-09+barkbuster&commit=Search
-
Having run TKC-80s for many thousands of miles, I can say they're pretty terrible on-road. They can hustle for being a 50/50 tire, but the front end pushes quite a bit—especially when they're worn down. Since I couldn't do crazy stuff off road because of chassis limitations, I never found my tires to be the limit. I went back to street tires and can handle fire trails and light dirt well enough. If I went for a "all road" setup again, I'd definitely go for a tire like the ContiTrail Attack.
Good call on the Higdonion cage. Kris is a great guy. In fact, I'm going to be scooting around the Vegas area with him this week!
-
1
-
-
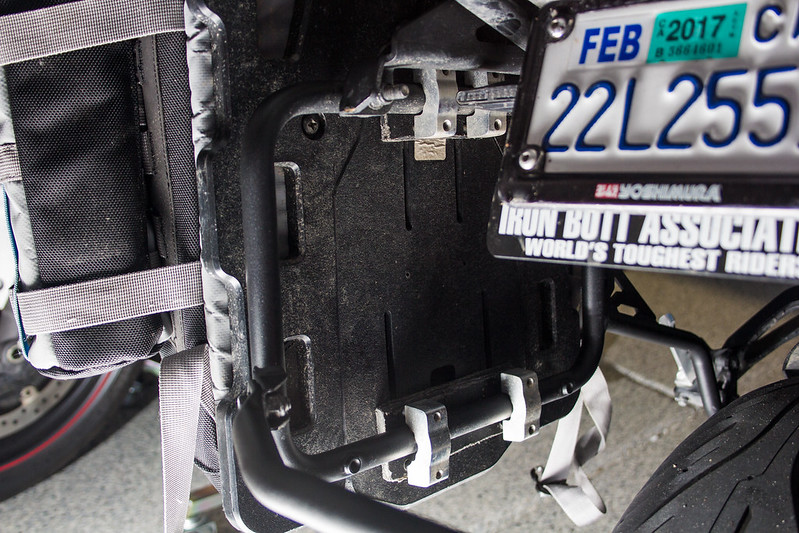
Do you happen to know the difference between the PL2122 and the PL2122CAM racks? They both claim to fit the FJ-09, and I can get the former for about $60 less, so I'm wondering if there is a specific reason you needed the model with the CAM designation? I have an Amazon/Aliexpress rear rack on mine which looks to have a nearly identical mounting system to yours, if that makes any difference. Thanks.
It looks to me as if the PL2122 have an offset design that would not allow the Mosko bags to be mounted.
See here:

-
Hey FJ'ers!
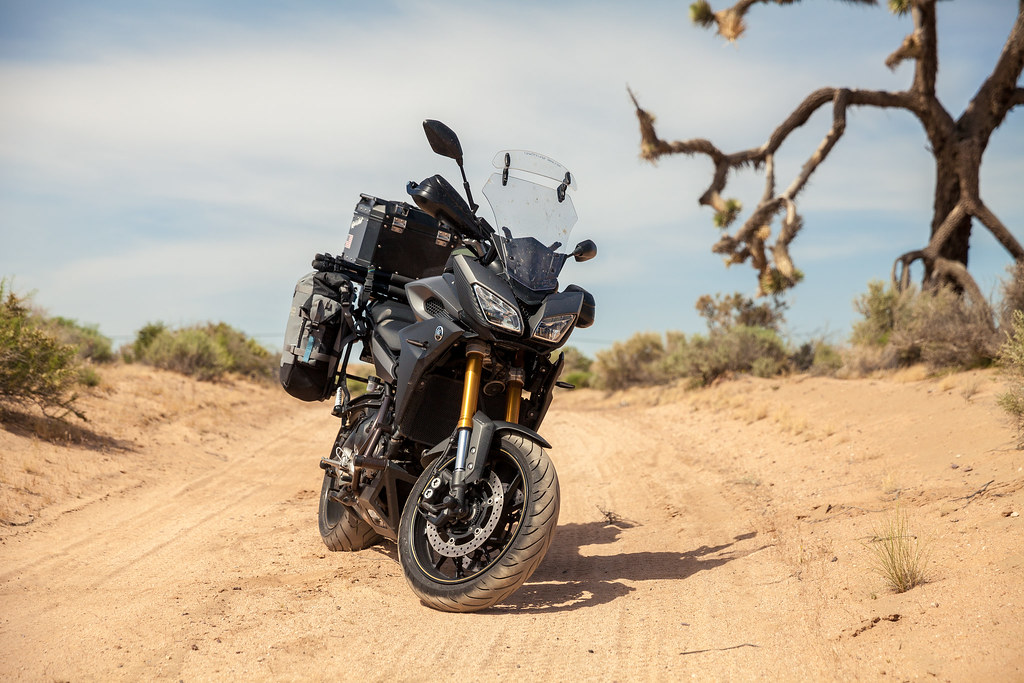
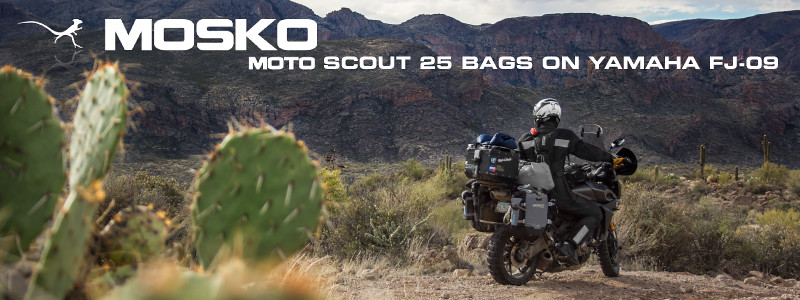
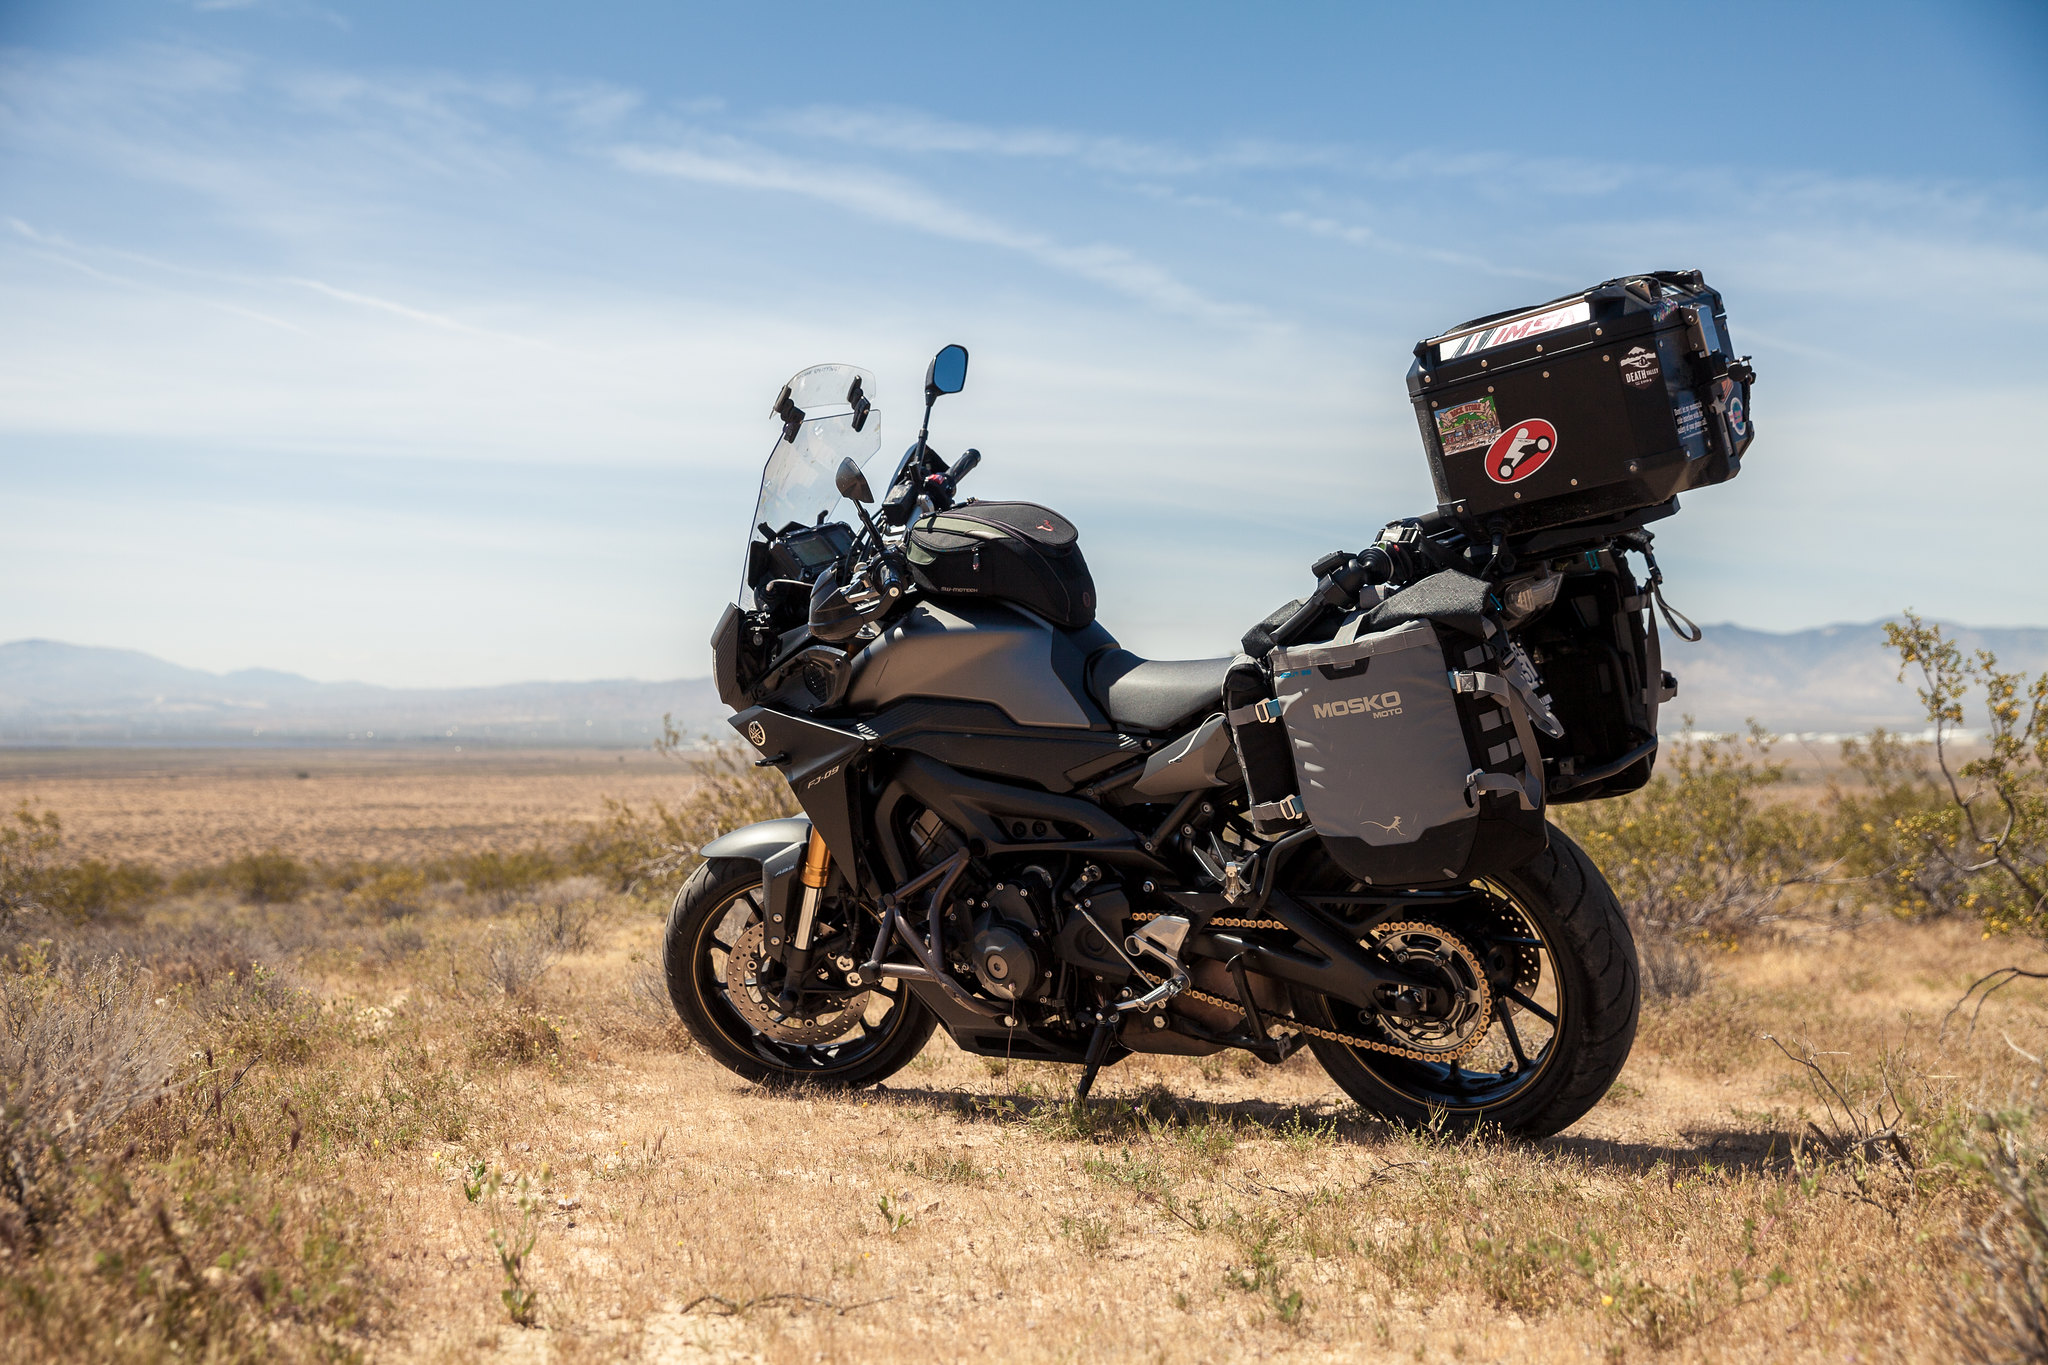
I wanted to do a short write up on how I was able to mount my secondhand Mosko Moto Scout 25L soft luggage on my '15 FJ-09 with Givi PL2122CAM racks.
Unfortunately, the install wasn't a direct bolt-on, but the modifications are easy enough. More importantly, all of the modifications I made during the install are reversible.
The only tool you'll need outside of normal allen wrenches, sockets, screwdrivers, etc. is a hacksaw. The only materials you'll need is a plastic cutting board or a sheet of thick plastic or wood as a spacer and some 4 bolts to replace some that came on the PL2122CAM racks. I'll get more into that in a minute...
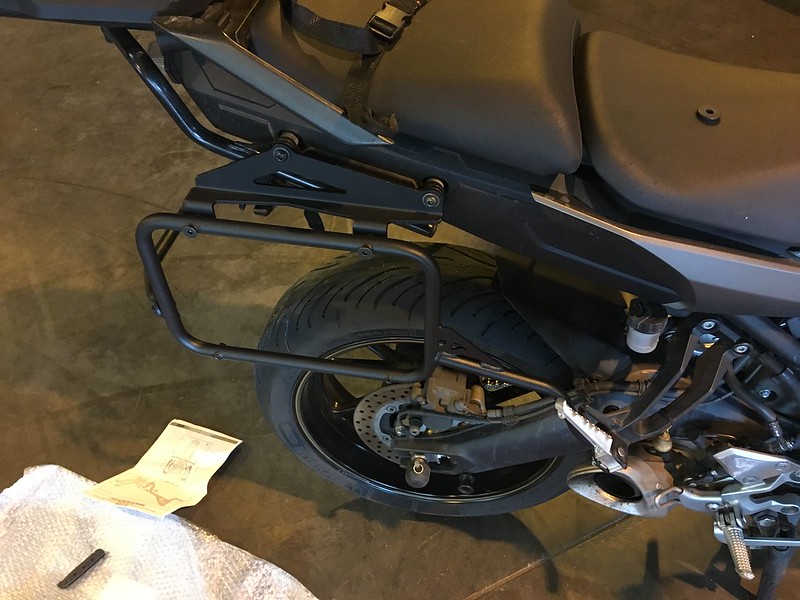
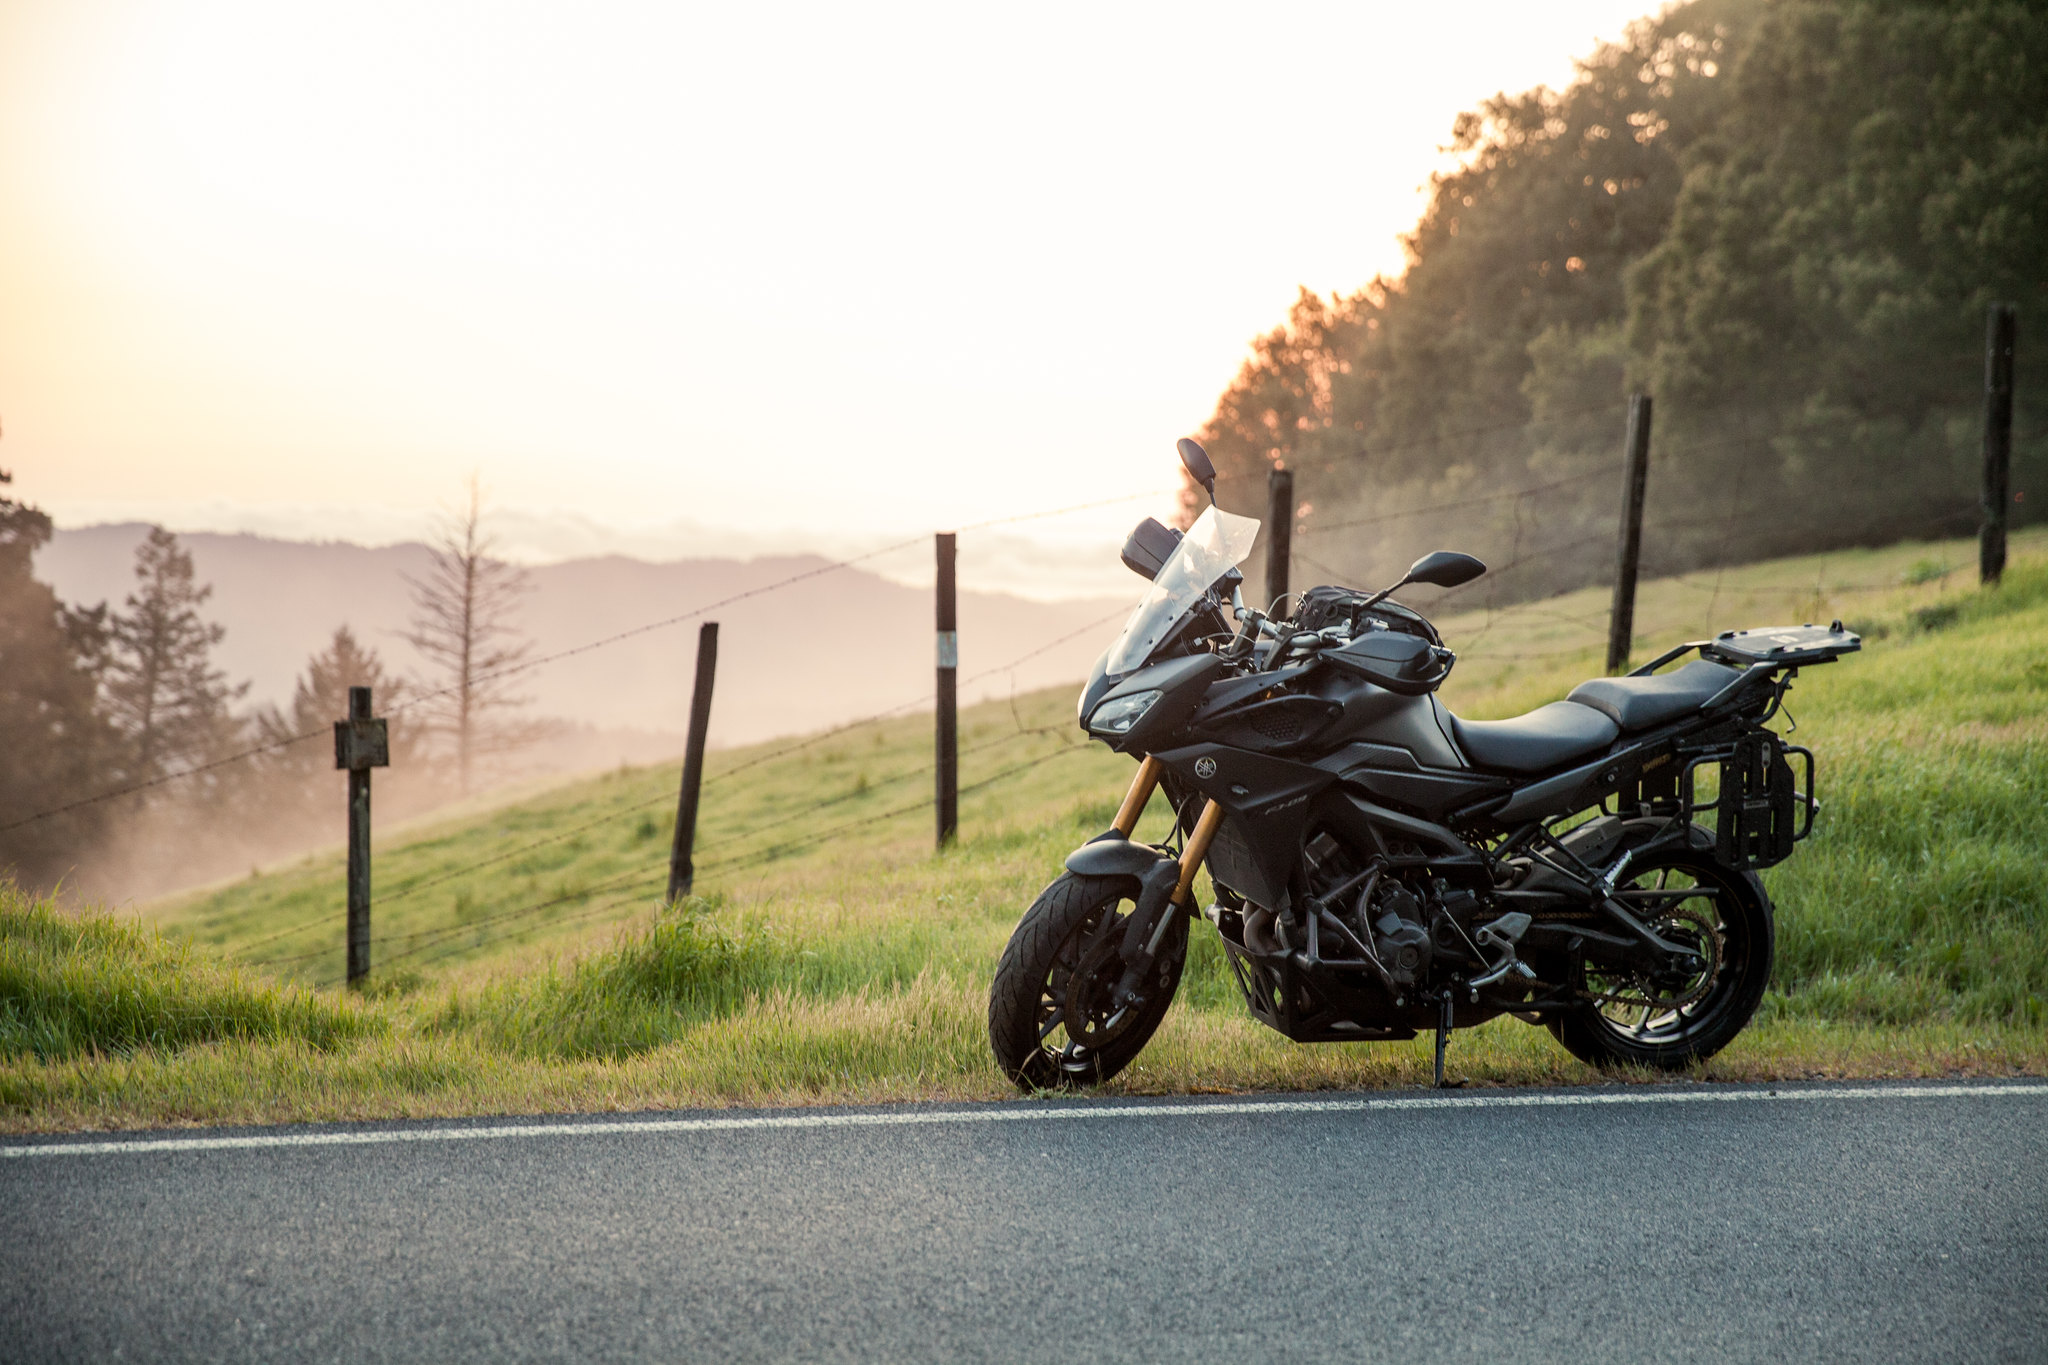
First, I installed the Givi PL2122CAM racks on the bike. I unbolted the standoffs on the bottom of the racks as well as the silver "Givi" bracket along the top of the racks. The end result should look like the picture below.
Oh, see those two black allen flat head bolts at the top of the rack? Go to your hardware store and replace those with button head allen bolts in the same pitch and length. You'll need 4 total.
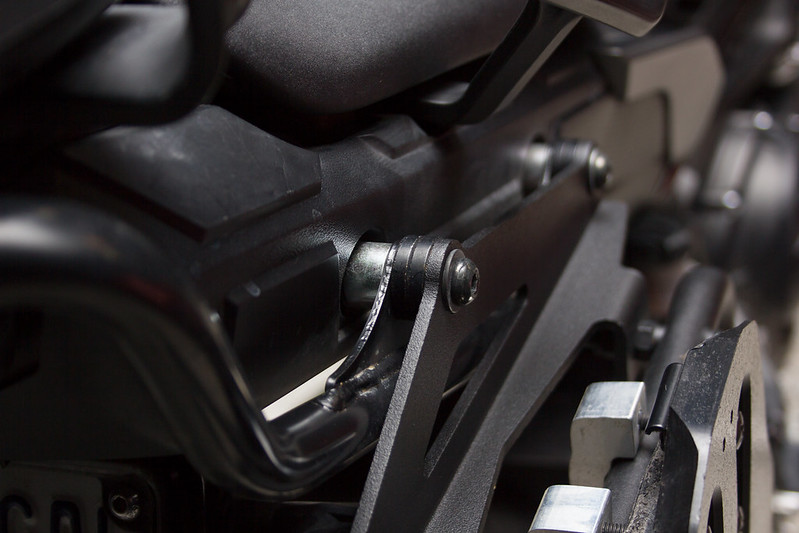
There is another thread on this forum that details the installation of the PL2122CAM racks on the FJ with the factory luggage rack, but it was far more intensive than I had to do for my install. I took some spacers that came with the racks and used it to allow the Givi racks to clear the tubes of the factory luggage rack.
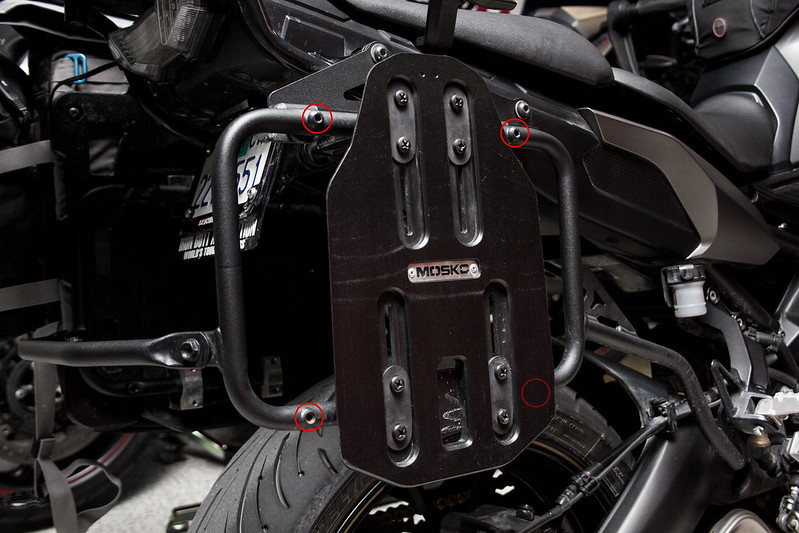
Remember those bolts you replaced with button head bolts? Those don't get in the way of the install of the mounting bracket, but they interfere with the mounting plate on the bags themselves. Basically, the goal is to space the Mosko mounting plates from the luggage racks about 10mm. See red circles:
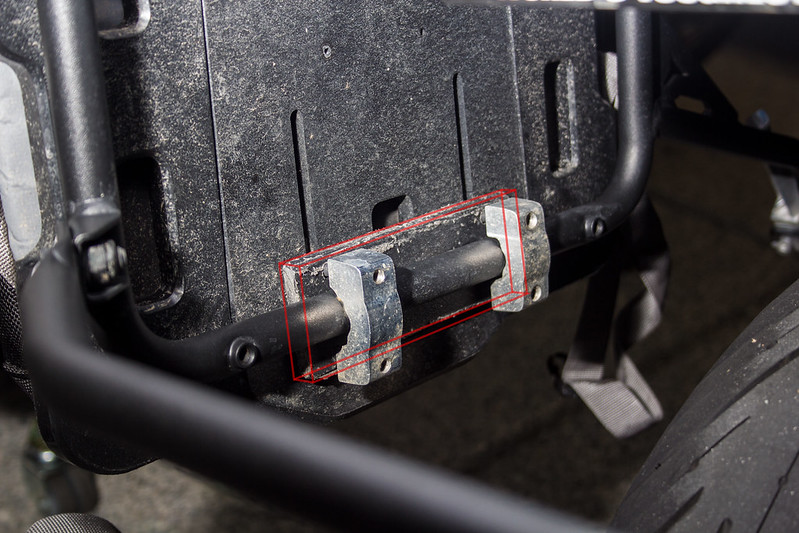
I was in a rush to install these racks for a trip, so my solution—while a bit messy—works brilliantly. I used a black plastic cutting board that I bought from Target for $13 or so. I cut it to size to fit the width and height of the mounting clamps. See outlined in red.
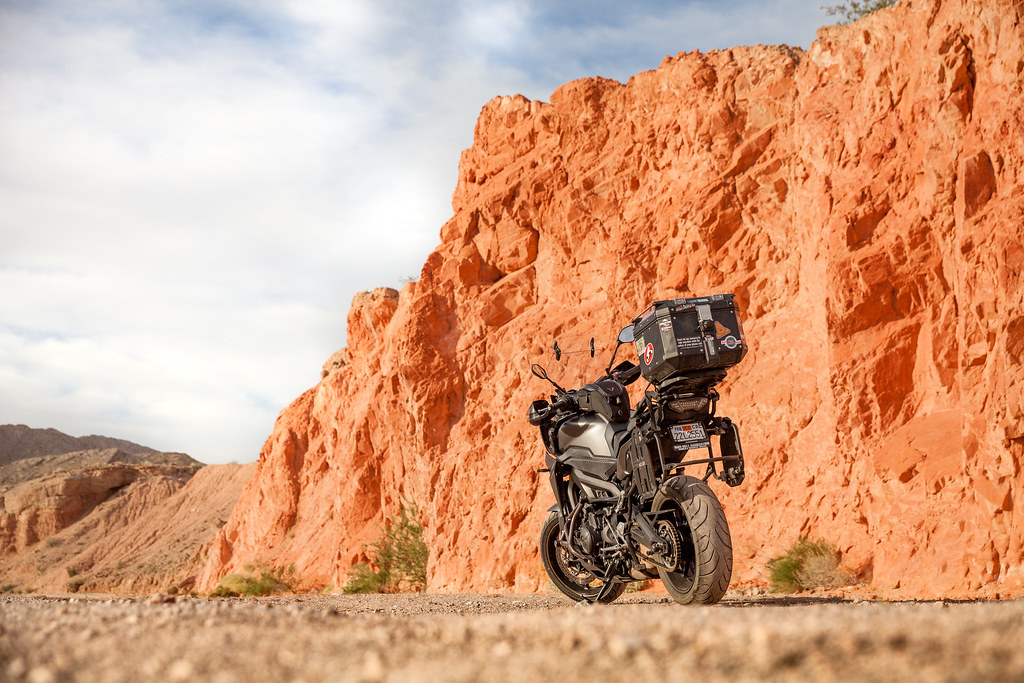
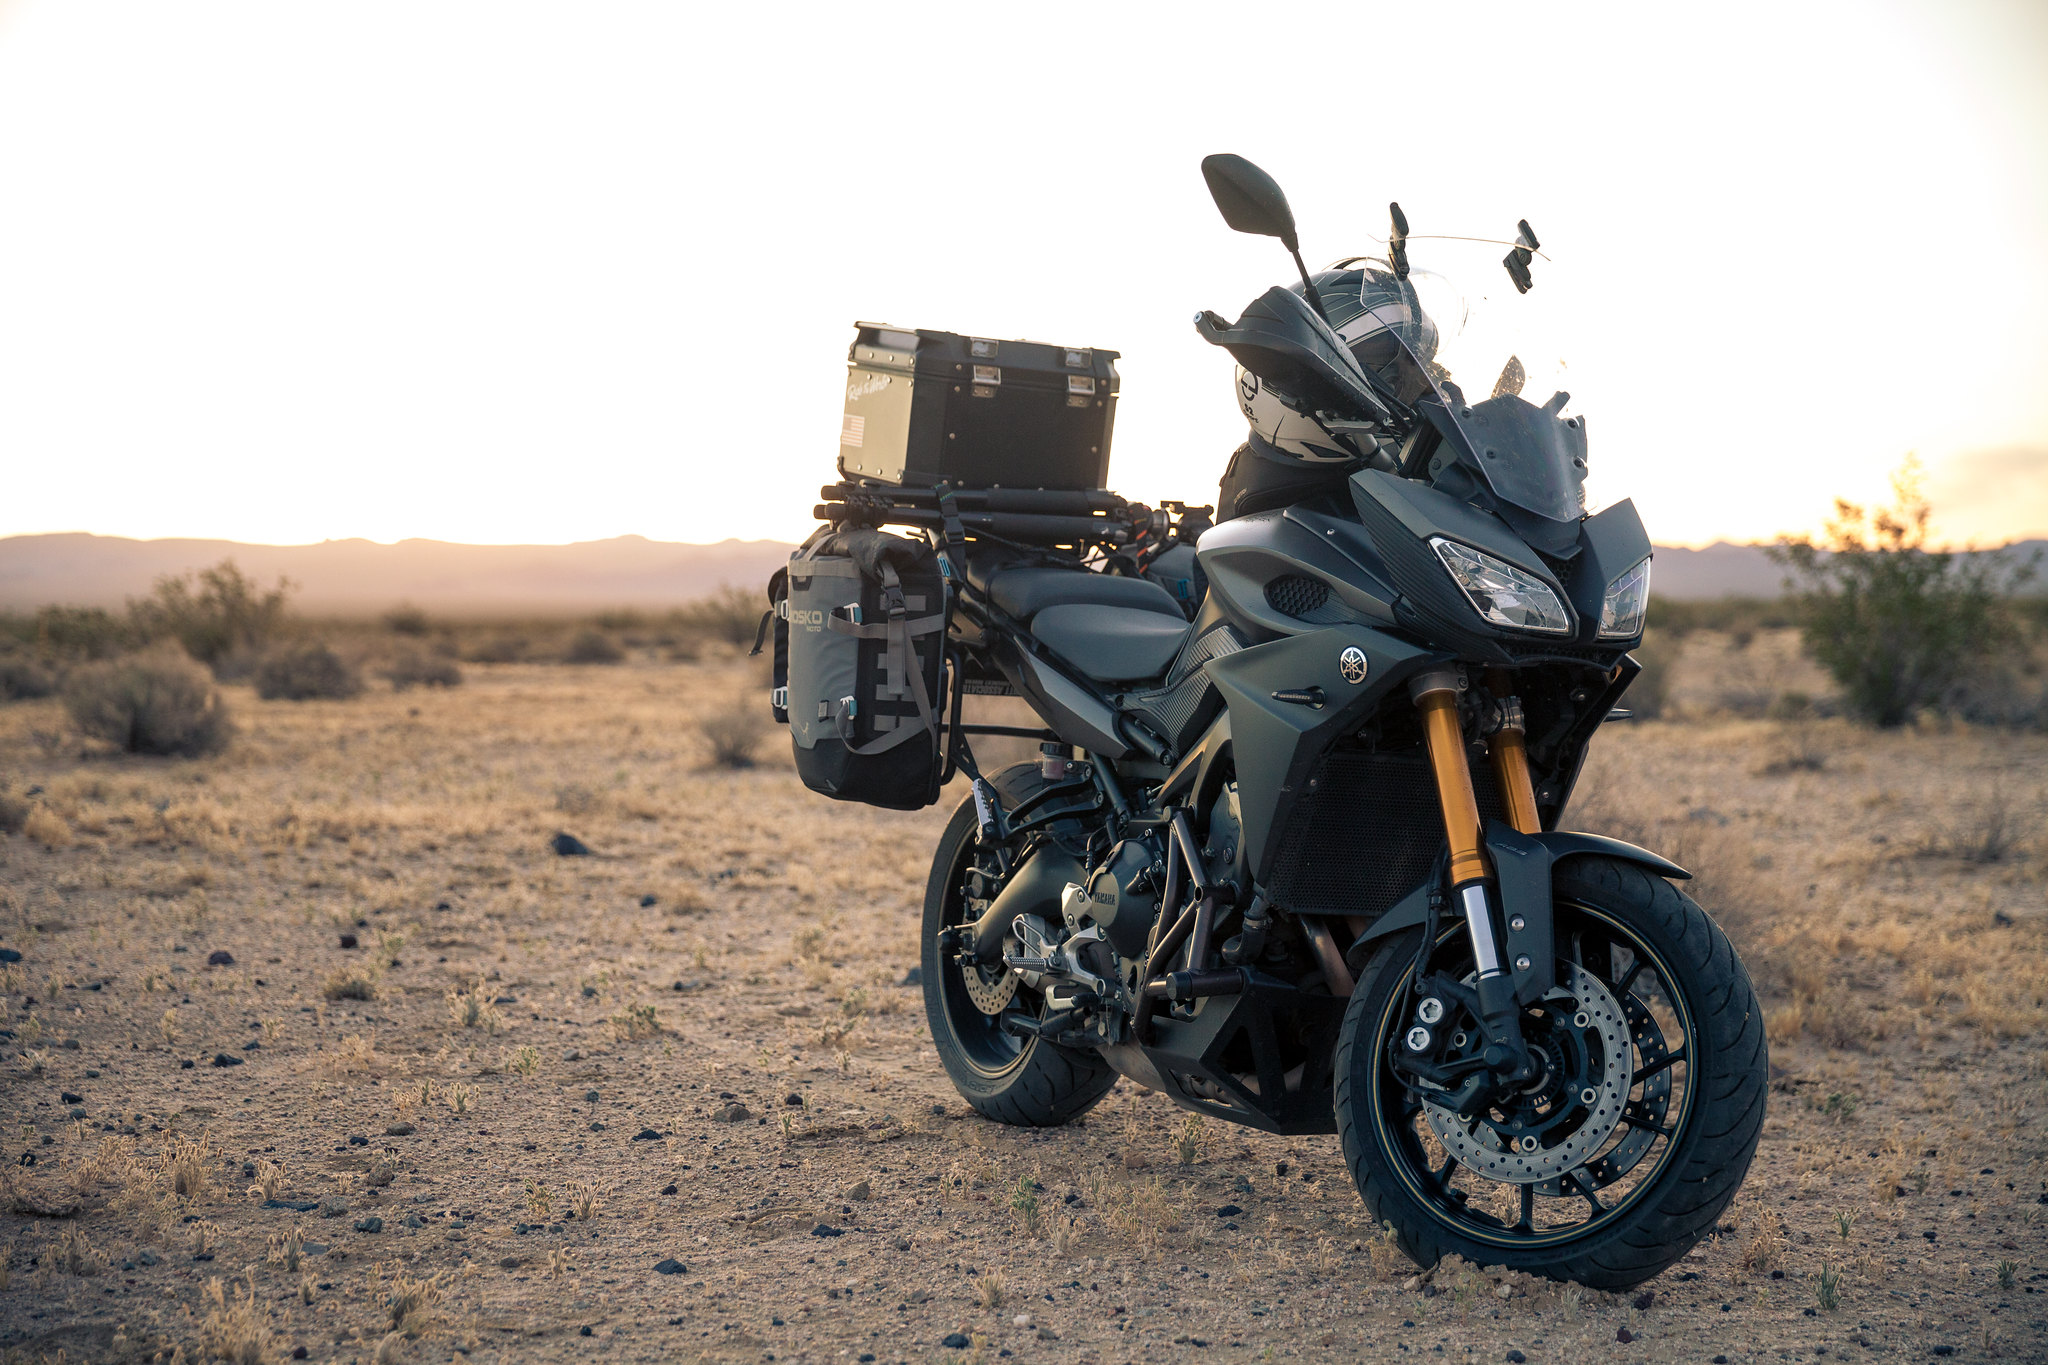
The bags are fantastic and I couldn't be happier with them. They performed flawlessly and didn't skip a beat on a 2,500 mile trip around the Southwest/West Coast this holiday season. I'm sure there is something I'm forgetting, so please let me know if you guys have any questions!
You can find all high-res photos on my Flickr.


What did you do to your FJ-tracer-gt today?
in FJ-09 Tracer 900 General Discussions
Posted