


trokarr
-
Posts
103 -
Joined
-
Last visited
Content Type
Profiles
Forums
Events
Posts posted by trokarr
-
-
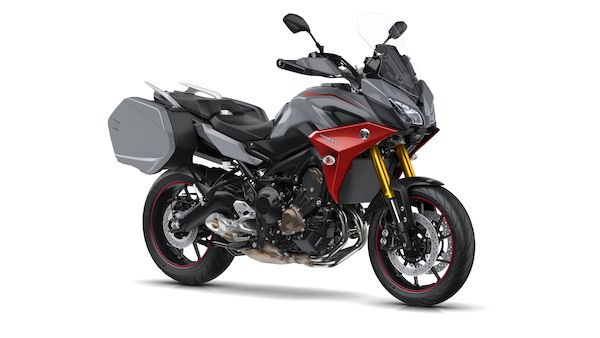
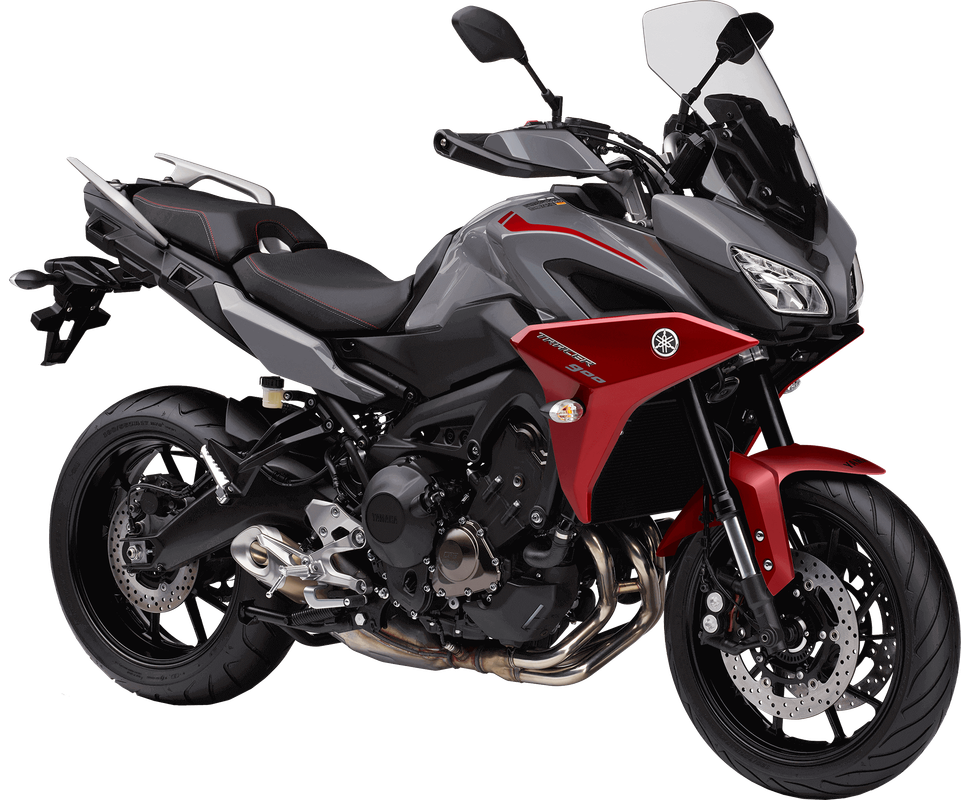
In Canada, we don't get the red color for the Tracer GT, but they decided to spring a red regular Tracer on us, complete with red front fender.I just went to the Yamaha UK site to confirm this monstrosity is indeed the new color. It's hideous, what the hell were they thinking?
There's a been a trend of North America getting colors a year after they come out in Europe, so I'm hoping we get matte blue and not this mess.
-
I'm looking for the part number for the male connector that inserts into the white connector labeled #101 in 3way's post on page 1. It is not a FRS connector. The FRS appear to be for the connectors labeled #99 and #100.Sorry for the delay, based on my research it's K&L P/N 34-9295 for the male FRS-101 connector. You'll also need a FRS-103 seal 34-9297 and the correct FRC-200 crimping tool (or equivalent) for the connectors (p/n 34-9206) but IIRC the tool is expensive. Last time I priced one from K&L it was over $100, but this one may be a different type or priced differently.
We should probably post this in the FAQ section so others can find it.
Mods?
-Skip
https://i.postimg.cc/ZRTrqLpm/IMG_3774.png
-
K&L supply is the US distributor for OE Yamaha connectors and pins. They’re in CA. Don’t know what shipping to Canada would be sorry.Where did you get this connector? The only place that I found that sells them is in the UK and they do not ship to Canada. Do you have a US source?
-Skip
Would you happen to have a part number for the connector? I can just call K&L then and get a price. I looked through their various catalogs but could not find this specific connector.
Thanks.
-
Where did you get this connector? The only place that I found that sells them is in the UK and they do not ship to Canada. Do you have a US source?It's a good idea. Get a connector (pic2) and wire in to cigarette lighter socket. This will the plug into empty back socket behind dash. 102 pic 3 I the popped in a dual USB pic 1 so I can power phone, whilst using original cigarette lighter for my aging garmin.

-
I looked at the MP tool when I was going to install my new chain but went with the Regina at the last minute because it looked more solid; so glad I did now. If you do decide on the Regina tool, the instructions supplied with the tool suck. I used these instead as the staking procedure for solid rivets was much clearer:
Thanks @trokarr , I will have a look at Regina. I've read reviews of the MP tool and it was a mixed bag of success and failure. MP cut a corner to many on this one.I used the Regina riveting tool shown here:
https://fortnine.ca/en/regina-chain-assembly-and-rivet-tool-805199
https://www.getgeared.co.uk/core/media/media.nl?id=5219&c=731612&h=5aa87151f151425438d5
-
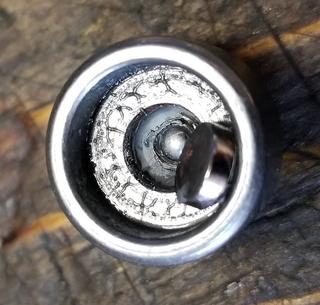
I used the Regina riveting tool shown here:Sorry @betoney for dumping onto the thread... but my chain link saga continues so I will just try and eventually bring that to a close. The Motion Pro 08-0470 chain tool broke today while riveting my new link. The pins are still under the min 5.7mm spec and I now need to source another tool to finish this.
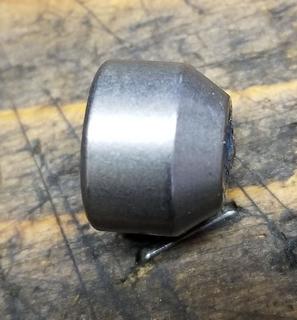
While the form factor design of the MP tool is pretty nice, the riveting attachments are made of brittle alloy, so the thing just gave way and the steel ball collapsed into the attachment (the little puck in the photo is a magnet that it displaced). I am reluctant to go the MP way again and might just buy a DID KM500R tool. To think that I was happy with the clip link... 900km and looked pretty solid on there. Should have left it alone.
https://fortnine.ca/en/regina-chain-assembly-and-rivet-tool-805199
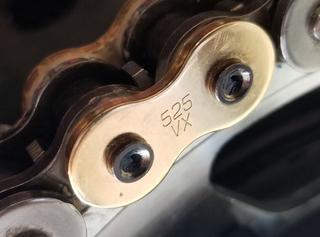
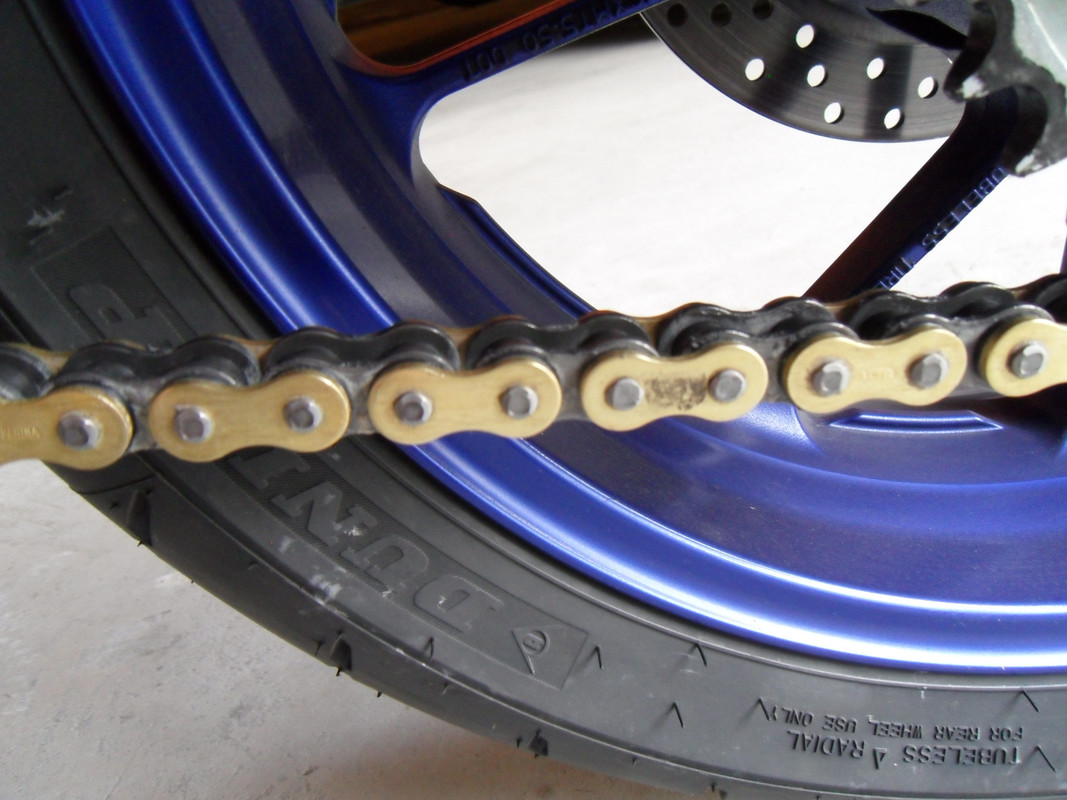
You use the bar above the tool (it fits into the threaded hole of the U-shaped top piece) with a hammer to stake the rivets. I used it with solid pin rivets (which are much harder to stake than the hollow tip one that you used) and the tool worked fine. Very solid tool. Here is a picture of my finished chain (the link with the black mark is the master link):
-
I just replaced the front sprocket, chain and rear sprocket on mine after 12,450 miles. I also heard that the three should be replaced as a set. My front sprocket and chain were toast but my rear sprocket showed no wear even when put up against a new JT sprocket. I did change all three but I kept the OEM rear sprocket and will reuse it when (if) my JT sprocket wears out. I would recommend just getting the front and chain if the rear looks good. I used a staked rivet master link because that is what the chain manufacturer recommended and supplied with the chain. I'm sure there will be a lot debate about which type of master link to use, but the clip style can come off and you don't want the chance of your chain bunching up at the front sprocket and damaging the engine case ($$$). Breaking the chain is easy even without a chain tool; grind the rivet heads flat and punch the pins out with a center punch or pry the link off with a screw driver (less than 5 min job).Resurrecting this thread and adding a bit of drift...
I stopped at a store a couple of miles from home after a long ride and didn't bother putting my ear plugs back in. Noticed a LOT of noise from the chain. Bike is approaching 11,000 miles so decided to pull the cover and have a real good look at chain and sprockets.
Front sprocket is showing definite signs of wear, rear sprocket looks good, chain is a little dry. Area under the front sprocket cover was disgusting! I've been using Motul paste/wax type lubricant. Haven't taken the chain off to check for side plate wear but after 11K, I'd suspect replacing it would be a good idea.
This leads me to a few questions:
1. @betoney , are you happy with your choice of sprockets and chain?
2. Is there a reason that these chains use a peened rivet or break-off screw master link vs. the side-plate-and-clip style I'm used to? Power level too much for the old style master links maybe?
3. I've always heard that it's best to replace chain and sprockets as a set, but the rear sprocket looks pretty much virginal.
I don't want to break the chain to get it off until I've decide if, and with what, I'm going to replace it.
I'm tempted to replace the front sprocket for now and then do the whole job at the end of the season. Possibly false economy tho.
-
I don't know if it is a record for an OEM rear tire, but I got 19,929 km on it. I am retired so I spend my summers touring Canada and the USA. I ride 95% highway/5% city and use my bike mainly for touring. I don't ride the interstates but stick to secondary roads. I ride only 1-up and with a tail bag and Shad 23 side cases packed full.
20k km on OEM Dunlop tyres.... must be a record. Would love to know how/what kind of riads and riding.I put on a RoadSmart III rear on my bike just before a 1800 km trip and it performed great. I got 19,900 km (~12,400 miles) on the stock Dunlop without a puncture. About 1500 km into my trip, I picked up a finishing nail in one of the groves on the RS III that went all the way into the tire. I used a Stop-and-Go mushroom plug on it and it seems to be fine. My local motorcycle shop says they won't patch tires anymore (only plugs) because the inside of the tire is too oily to hold a patch. I don't know how accurate that is but time will tell with the plug. I'm not inclined to spend another $250 to buy and mount another tire so I hope this one holds for at least 20K km like the OEM tire.
I got 13k on original Dunlops and was probably 1500km overdue.
Next set was Metzeler Roadtec 01...outstanding tyre while it lasted as the rear is down to legal limit now at 10k km...disappointed given the price tag and longevity claims...front still ok... so have just ordered a new Pirelli Angel GT.
I do 2/3rds commute 1/3rd tour... 20k km/yr in all...
I will say I probably should have changed the rear 1000-1500 km before I did, but I was on a trip and the tire looked fine. When I got home I noticed that I had actually worn through the cords and was riding on probably only 2 mm of rubber at the end. Really dumb on my part and I plan to change out the next tire well before this happens again; I learned my lesson. Realistically, I would say the OEM rear was good for 17.5-18K km based on my riding style.
-
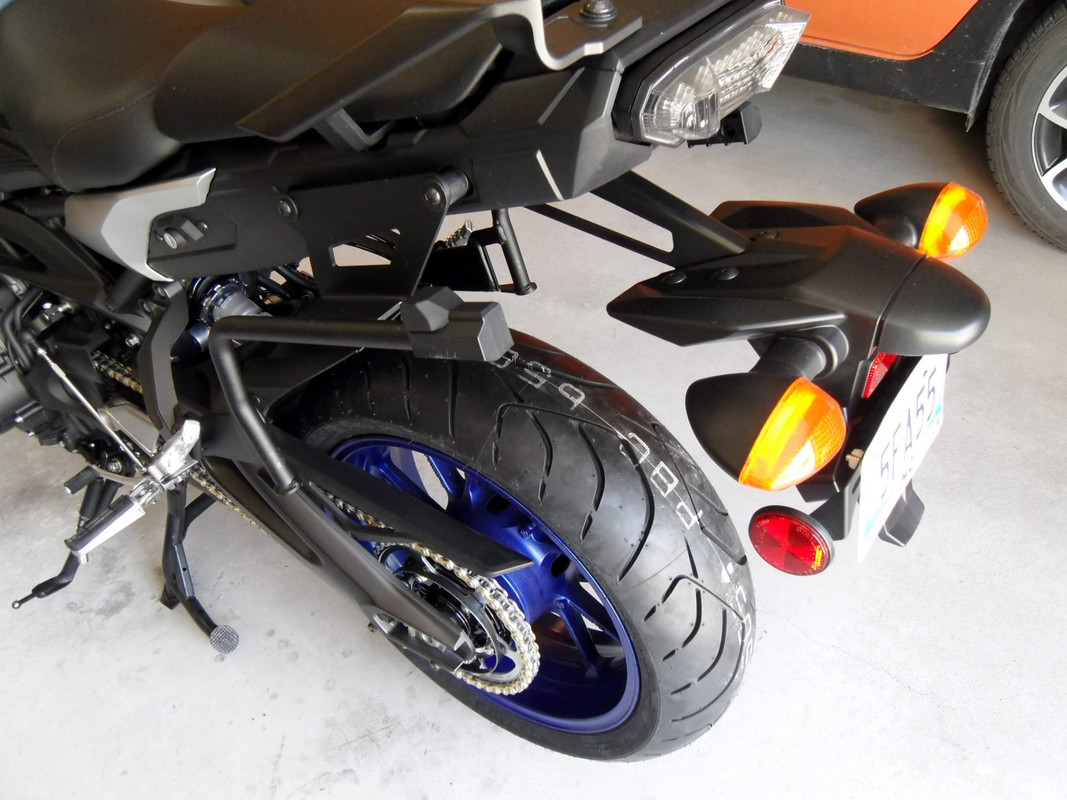
I put on a RoadSmart III rear on my bike just before a 1800 km trip and it performed great. I got 19,900 km (~12,400 miles) on the stock Dunlop without a puncture. About 1500 km into my trip, I picked up a finishing nail in one of the groves on the RS III that went all the way into the tire. I used a Stop-and-Go mushroom plug on it and it seems to be fine. My local motorcycle shop says they won't patch tires anymore (only plugs) because the inside of the tire is too oily to hold a patch. I don't know how accurate that is but time will tell with the plug. I'm not inclined to spend another $250 to buy and mount another tire so I hope this one holds for at least 20K km like the OEM tire.New Dunlop Roadsmart 3 tires. The amount of confidence this tire give you, is really high.

-
I hit 20K km on my bike on a trip through SD and started hearing a clunking noise when I started moving in 1st gear. When I got home, I took off the front sprocket cover and found that the front sprocket was toast (the rear sprocket was still like new). The back OEM tire was also gone so I ordered a Dunlop RoadSmart III rear tire, a new front sprocket (Yamaha), a new rear sprocket (JT), and a Z-ring chain. Got it all put back together but staking the solid pins on the Regina master link was a total pain. Some pics:
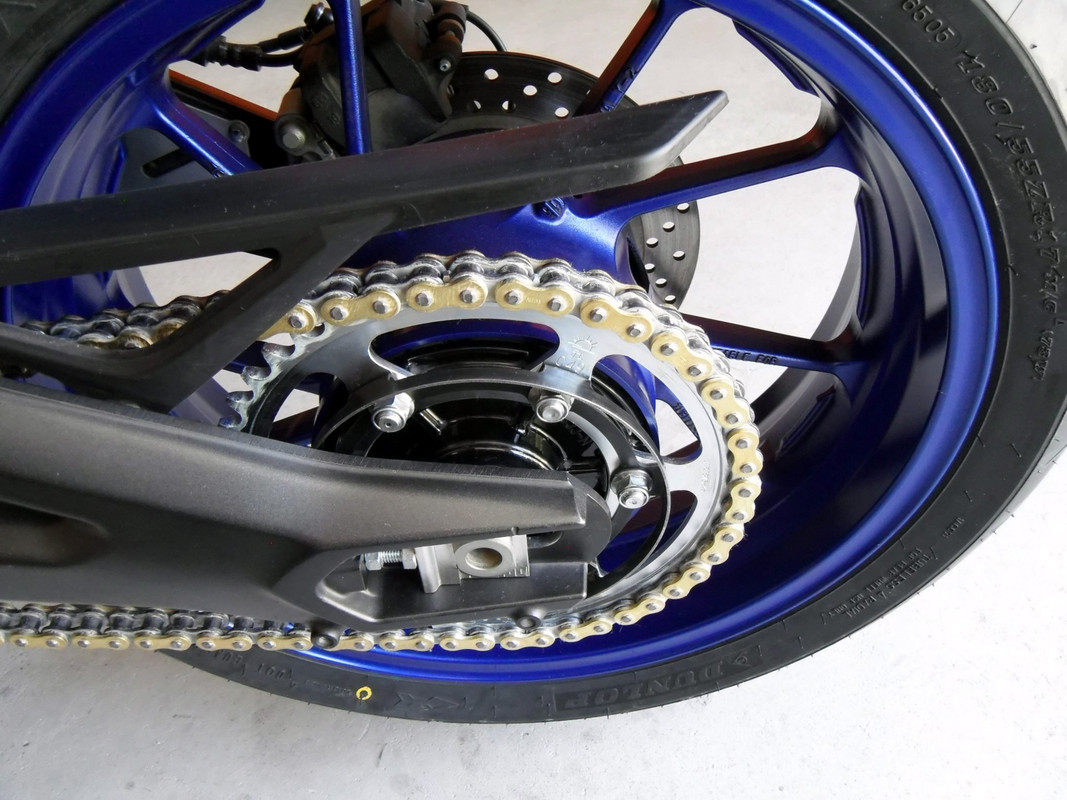
I'm going to take it for ride shortly to scrub the new rear tire.
-
I could have sworn it said it needed the heavy duty rivet tool, but now that I look at it again, it does not mention it. It must have been for another chain I was looking at and I got confused (getting old). My bad. I was also looking at the Motion Pro chain tool. Let me know if yours works; I am waiting on a back tire and an OEM front sprocket so I have some time. Also, if you don't already have one get one of these (well worth the money): https://fortnine.ca/en/motion-pro-chain-alignment-tool
My parts are still in transit. I was planning on buying a breaker/riveter kit most likely the Motion Pro kit. I didnt know Regina chains were hard to rivet.What are you using to break your chain and rivet the new Regina chain? I understand that the solid pins on link supplied with the Regina chain are pretty hard to rivet so you need a heavy duty riveter. Did you do the job yourself? I plan to replace the chain, sprockets and rear tire at the same time on my 2016 and I am looking at similar hardware but need to buy a chain tool that will work with this setup.
Thanks in advance.
-
What are you using to break your chain and rivet the new Regina chain? I understand that the solid pins on link supplied with the Regina chain are pretty hard to rivet so you need a heavy duty riveter. Did you do the job yourself? I plan to replace the chain, sprockets and rear tire at the same time on my 2016 and I am looking at similar hardware but need to buy a chain tool that will work with this setup.None of the dealers in my city had an OEM front sprocket in stock... nor any aftermarket sprockets either. So I ordered an undampened bikemaster steel front sprocket , a JT steel rear sprocket, and a Regina ZRT Z-ring chain from Fortnine.ca After some pondering (and a good long ride) i decided to stick with the stock gearing.
Thanks in advance.
-
I live in Manitoba, Canada. My insurance is ~$1200 per year and I have a good record. Insurance is provincial government no-fault insurance only, no private companies, no shopping around; one set rate. Only upside is that I can cancel my insurance at the end of the riding season and get a good chunk back and the rate for insuring my bike over the winter is only $40.
-
I don't want to hijack the thread, but it seems Yamaha is reasonably certain that there is going to be a market for the Niken (and three-wheelers in general) and has filed patents for a three-wheeled version of the Vmax:
http://www.visordown.com/motorcycle-news-general-news/yamaha-files-patent-mad-three-wheel-v-max
If it is ever made, a three-wheeled Vmax would be a monster.
-
Looks like your front tire is on backwards. Not sure that tread is doing much for you going in that direction...
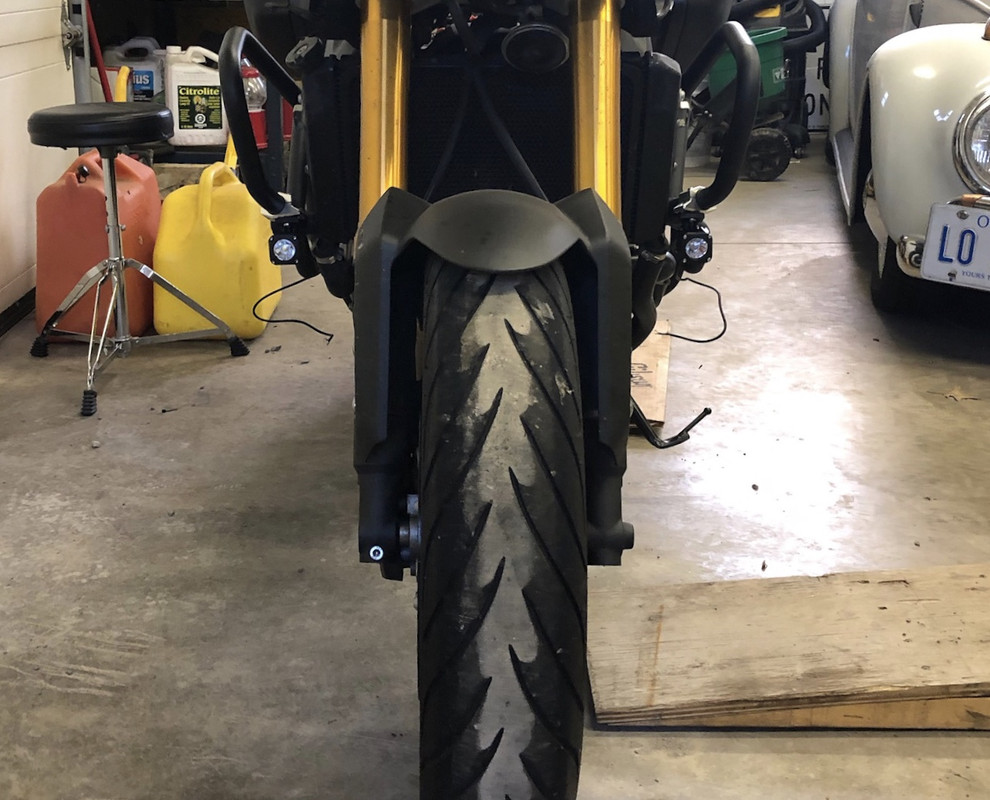
The original stock tire on my 2016 FJ also has the thread direction as shown in the picture. On what are you basing your backwards suggestion?
-
Lol. I love the Craftsman garage door opener on the handlebars.
-
That is pretty impressive. Any major problems with your FJ getting up to this mileage?3/9/2018 104,000 miles
-
It comes with four adjustable straps that are made to "click" into the D-rings on the bag (it is sort of hook-shaped on the end if that makes sense). You can unhook the straps from the bag and leave the straps under the rear seat. However, I use a pair of Rok straps for this since they are much more convenient:
Watched a video on it... I don't see any quick release buckles. Is that correct?No problem. It does work great as a backrest. This bag can be attached to the pillion with two straps so you can remove the rear seat and bag as one piece (very quick). That is how I usually have it attached when I am running around town. I can't do that with the soft bags shown in the picture because they have a large velcro strip that goes across the rear seat.
Maybe i could add my own. I would love to be able to take off the bag and leave the seat with the straps underneath
http://www.twistedthrottle.ca/rok-straps-commuter-black-reflective-adjustable-stretch-strap-twin-pack
Also, the bag comes with a large strap so you can use the bag as a backpack.
-
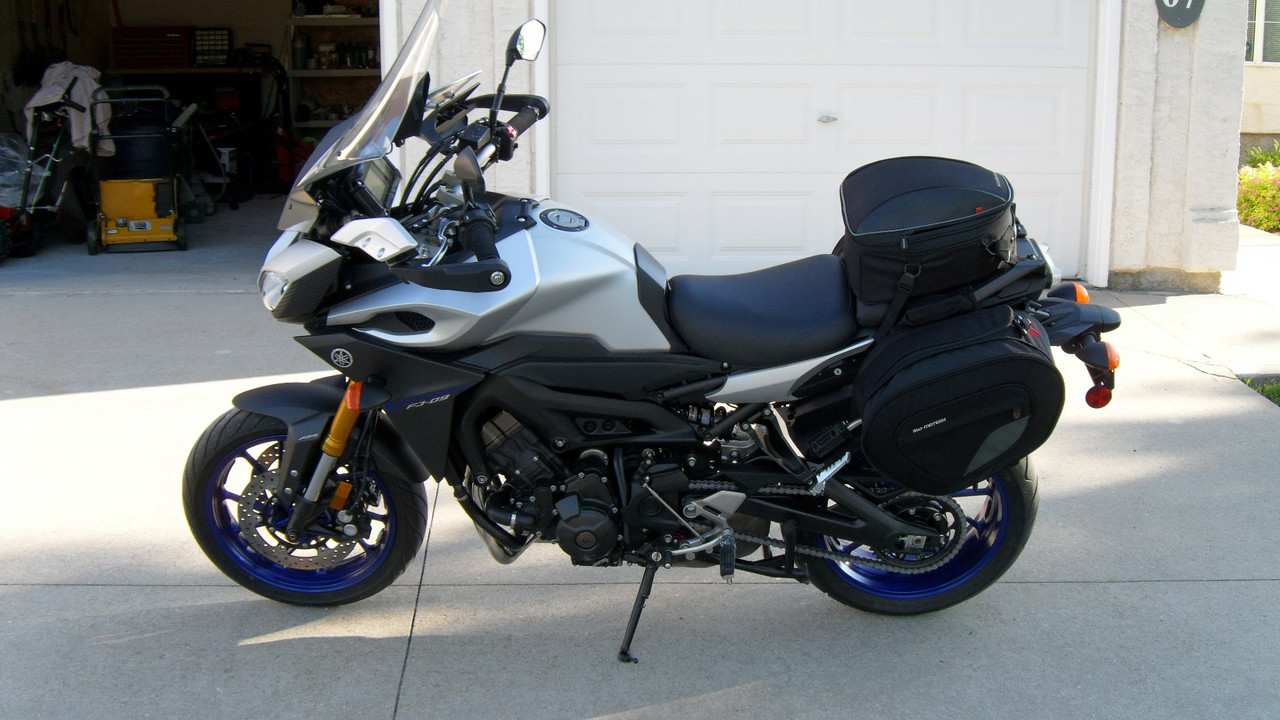
No problem. It does work great as a backrest. This bag can be attached to the pillion with two straps so you can remove the rear seat and bag as one piece (very quick). That is how I usually have it attached when I am running around town. I can't do that with the soft bags shown in the picture because they have a large velcro strip that goes across the rear seat.
Wow this looks just about perfect for me.I have a Nelson-Rigg CL-1060-ST that I really love. It holds 25L and expands to 33L. Link: https://fortnine.ca/en/nelson-rigg-cl-1060-st-touring-tail-seat-bag-cl-1060-st
Pic on bike:
Looks great sitting on the bike... and it's on sale! Thanks for the suggestion!
-
I have a Nelson-Rigg CL-1060-ST that I really love. It holds 25L and expands to 33L. Link: https://fortnine.ca/en/nelson-rigg-cl-1060-st-touring-tail-seat-bag-cl-1060-st
Pic on bike:
-
Oh well, enjoy the boots once you get them. I think you will really like them, I know I do.
Thanks bud... FortNine is my go-to place for stuff, but do not have the size (8/42).... GP Bikes was also out and only carry the white vented (I tried non vented in 42 and thought... BINGO!). I have the covers as well... looking forward to the rain to try them out... NOT! I will be looking for WP boots for touring and edge of season riding.What size shoe do you wear Piotrek? I bought a pair of these boots (Black, size 43) at Fortnine about 2 & 1/2 weeks ago for $181.02 (Cdn) with free shipping. Unfortunately, most sizes are now out of stock:
https://fortnine.ca/en/alpinestars-smx-3-vented-boots
These boots are super comfortable and provide decent protection. I also picked up the Nelson-Rigg boot covers for rainy weather and they fit perfectly:
https://fortnine.ca/en/nelson-rigg-wprb-100-waterproof-rain-boot-covers
-
What size shoe do you wear Piotrek? I bought a pair of these boots (Black, size 43) at Fortnine about 2 & 1/2 weeks ago for $181.02 (Cdn) with free shipping. Unfortunately, most sizes are now out of stock:
I really tried to buy local, but the vented version was nowhere to be found. This deal in USD works out to about the same price (a bit less actually)... all I have to do is go pick them up in Buffalo NY... on my bike, of courseThat is a good deal on those boots.
 .
.
https://fortnine.ca/en/alpinestars-smx-3-vented-boots
These boots are super comfortable and provide decent protection. I also picked up the Nelson-Rigg boot covers for rainy weather and they fit perfectly:
https://fortnine.ca/en/nelson-rigg-wprb-100-waterproof-rain-boot-covers
-
I wear an Olympia Switchback 2 jacket. It's a mesh jacket with a very good removable, waterproof liner that can be worn inside or over the jacket.
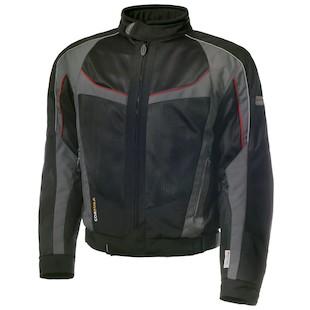
Quality is very good overall (although not Klim level quality I suspect). I have worn it several times at 12C (54F) and it is toasty warm. Currently $239.99 at Revzilla:
www.revzilla.com/motorcycle/olympia-switchback-2-jacket
I am in Canada so I bought mine at Royal Distributing last year when they had a 30% off sale, but don't see it in their 2017 catalog anymore.
-
Have you considered this switch:Good day today ... warm enough for some work in the garage, after some morning exercise... shoveling snow. Put my forks/wheel back on the bike after changing fork oil.... also took the opportunity to raise the forks 5mm for quicker turn-in...hopefully. Next on the agenda was mocking up some auxiliary lights on the AdventureTech light bar. Each is said to be rated at 10W... but the meter says otherwise. Regardless, plenty of light and I am happy to run these off the spare auxiliary 2A circuit. Last photo shows length of the pigtail... I will be putting automotive type connectors on the lamps, and now have to source a decent switch. The one I bought is garbage so won't bother wiring it up. Hoping for more days like this over the winter.
https://www.motorcycleinnovations.ca/SW_Motech_Cockpit_Switch_waterproof_handlebar_p/cpa.00.006.14000.b.htm
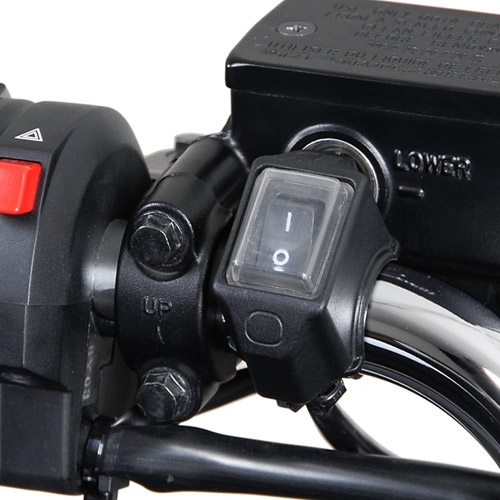
A little pricey, but SW-Motech is decent quality stuff and a Canadian company so no duty hassles.

NIKEN GT?
in Yamaha Niken Forum
Posted
No thanks.