


morkys
-
Posts
136 -
Joined
-
Last visited
Content Type
Profiles
Forums
Events
Posts posted by morkys
-
-
When I had the FJ09 in for some service or other I had the shop install the Yamaha lowering links and lower the forks.
When people install the lowering links I hear advice they have to compress the suspension. When pulling the lowering links and replacing them with the stock links, is it an easier job or about the same?
Two specification questions.
1) Torque value for link bolts?
2) At what height should I lower the forks/raise the triple clamps?
-
Are you talking about me? I did not install the akrapovic exhaust, but, I was seriously considering it, or possibly, the Hindle... but I chose the Yoshimura because it has is what I believe is the best combination of lightweight, power and sound all the while retaining an exhaust catalyst. It continues to be a great choice.You had a Akrapovic installed and then you changed it for a Yoshi? Why ? Sound ? Performance? Does Yoshi gives somes additional Hp and torque like Akrapovic? Thanks. I absolutly want to change my stock exhaust. -
Fair enough. Well, I guess the more important thing to protect on this bike is the underside for now.
Anybody know if this SW Motech skid plate fits with the Yoshimura exhaust?
http://www.twistedthrottle.ca/sw-motech-aluminum-engine-guard-skid-plate-for-yamaha-xsr900-16
-
The heck with it...lol. Somebody else can inquire...and they are possibly just as expensive.
I ordered the MT-09 Adventure pegs from the UK. Hopefully I don't pay too much duties or taxes.

-
Any idea's if the mounting hardware that would come with these pegs would work ok?
They are sold as Adventure pegs for the SCR950 here in Canada.
https://www.yamaha-motor.ca/eshop/detail.php?sectionId=AC&groupId=19&subGroupId=10&categoryId=17&itemId=6344&unitId=4809&unitName=2017+SCR950&unitGroup=MC&unitYear=2017
Even if the hardware was not correct, would it just be a matter of finding a proper length (or one of those variable length) clevis' ...or are the springs difficult to make work if they are not the ones for the MT09?
-
So I noticed this puppy sticks out quite a bit and should I go down on the right side, the muffler is going to meet the road. Anybody bother with some sort of guard or protection for the muffler? Is there anything that protects the muffler without looking really odd?
-
I tried the MRA only and it works ok. I may sell the Ermax.
-
I ordered it through Bayside Performance in B.C. Worked out pretty good and avoided the much higher cost ala Yamaha Canada dealer. I don't think it is listed on their website but I emailed them and they sold me the exhaust. Shipping was amazing. $26 CDN to me in less than a week....but, it wasn't in stock at their warehouse right away. I think it took 3 weeks overall. Happy with the deal. I can message you the email for Patrick at Bayside Performance who can get an exhaust for you.
-
Thanks. I went with 11 nm. I will redo at 12 nm.
Well, I have to say I LOOOOVE the sound. It's not just louder and deeper. I think as a result of the louder and deeper sound, it also has much more of the triple purrr...lol. And compared to stock, it sounds angry. Awesome. Glad I upgraded. Could be placebo or the sound affecting my perception but I suspect it has better response and power.
-
Seems all good. Does anybody know the torque values for the right side engine case (clutch) cover bolts? I undid these in order to remove the O2 sensor cable and unplug it when I unscrewed the O2 sensor (so the wire didn't wind up at all). I am using around 10-11 nm. Not sure if that is enough.
-
Ok. I did not have to force it too much. It's on there. Just not lined up as much as I would have liked.
(Any idea which side of the frame flange the Muffler bracket connects too? I think it goes on the left as it doesn't seem to fit otherwise.)
In the end I figured out that it does in fact go on the left in order for everything to fit properly.
-
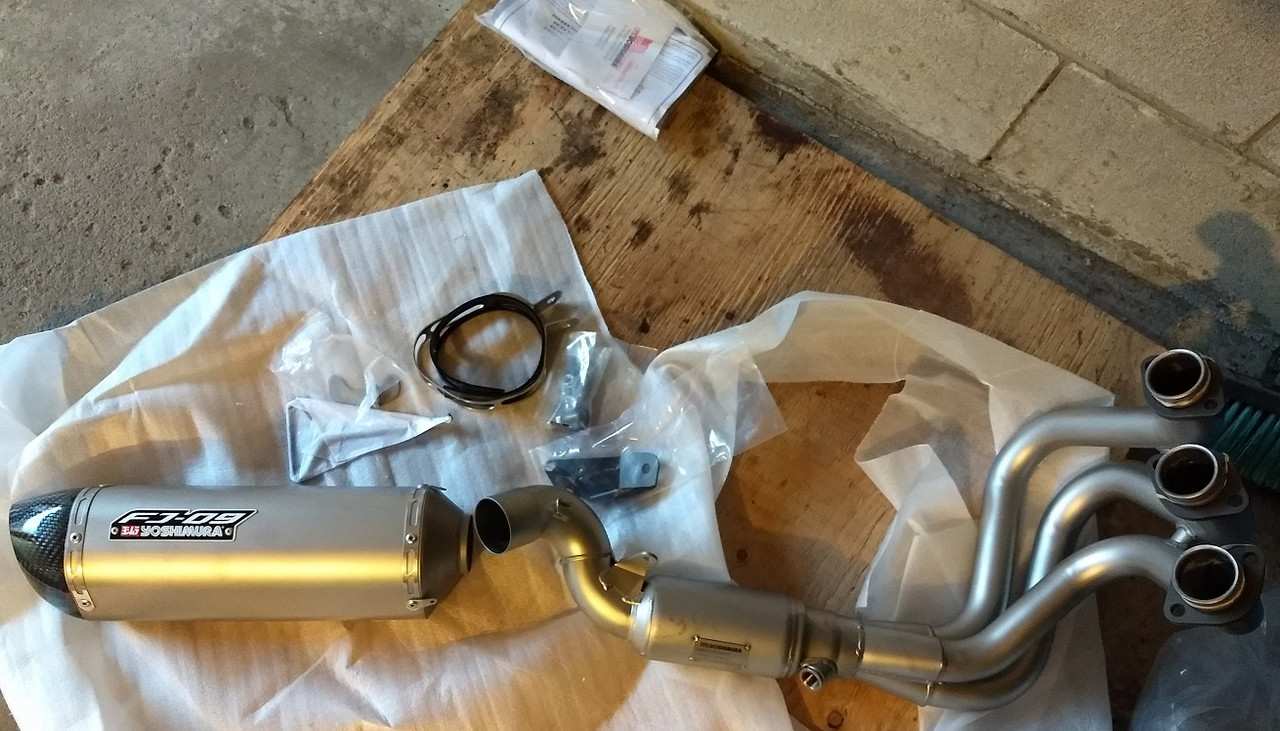
Not impressed with manufacturing tolerances. Middle header is slightly offset to the right. I can't guess to exactly how much, but, suffice to say you can see it when installing the header on the copper gaskets...and the proof is the Yoshimura oval exhaust flange washer needed extra oomph to get onto and down the bolts. I imagine once all tightened in place this difference will not affect performance, but...not great in my opinion.
-
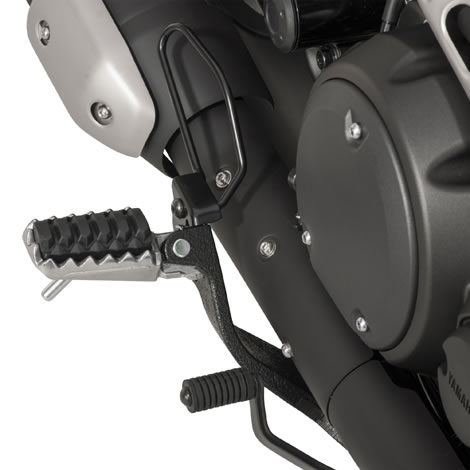
Clarification for anybody installing this, because it is not clearly explained.
DO NOT install the muffler bracket mount onto the frame as pictured below. It contacts the swingarm and looks like during suspension top out the swingarm may put pressure on the bracket. Instead, mount the bracket on the other side of that part of the frame as pictured in the next photo.

Install it as shown in the below photo. It requires flipping the muffler mount damper and collar which is not in the instructions.

This worked properly and once the springs are installed and everything torqued, it fits in place perfectly.
-
Should have just gotten an adjustable metric wrench.How wide did the adjustable wrench have to open to fit the sensor?
I should have brought the sensor to the store.
-
Does anybody know the size of wrench I should use for the 02 sensor? I used an adjustable wrench and HATE doing that. Although I just bought a set of adjustable crescent vice grip wrenches...lol.
-
Thaks for that. I’m waiting to hear back from 2WDynoworks as to whether there is a custom tune for this exhaust.I just did. The stock exhaust is 18.6 LBS and the Yoshimura is 12.6 LBS.
Pretty sure there is... This thread was started by him.
-
I would not recommend antiseize because of the extreme heat.I sprayed the bolts. Everything came apart easy and the exhaust was not too difficult to remove. Had to interupt the process. Going to install the Yoshimura later today or tomorrow.
I was going to use anti-seize compound on the bolts mainly the manifold. Any suggestions?
Like I said my bike has 16000kms and I had no issue removing the nuts, and if you use proper torque (20nm) it should come off pretty easy next time as well.
I thought there is anti-seize compound for extreme heat such as exhaust manifold bolts. A friend cautioned, and I have heard stories about nightmare exhaust manifold bolt (nuts) removal work.(although my friends stories involved old vw automobiles)
What would be the downside of using anti-seize compound if it is rated for extreme heat?
-
Has anyone weighed this system or a stock system for comparison?
I just did. The stock exhaust is 18.6 LBS and the Yoshimura is 12.6 LBS.
-
I sprayed the bolts. Everything came apart easy and the exhaust was not too difficult to remove. Had to interupt the process. Going to install the Yoshimura later today or tomorrow.
I was going to use anti-seize compound on the bolts mainly the manifold. Any suggestions?
-
spray the current studs/nuts with penetrating oil and leave overnight. It's not uncommon for them to corrode and end up coming out of teh engine block instead of the nuts coming off.
I will give a spray if I can find some. My FJ is less than 1600 km in and barely 7 months old stored in my garage over winter.
-
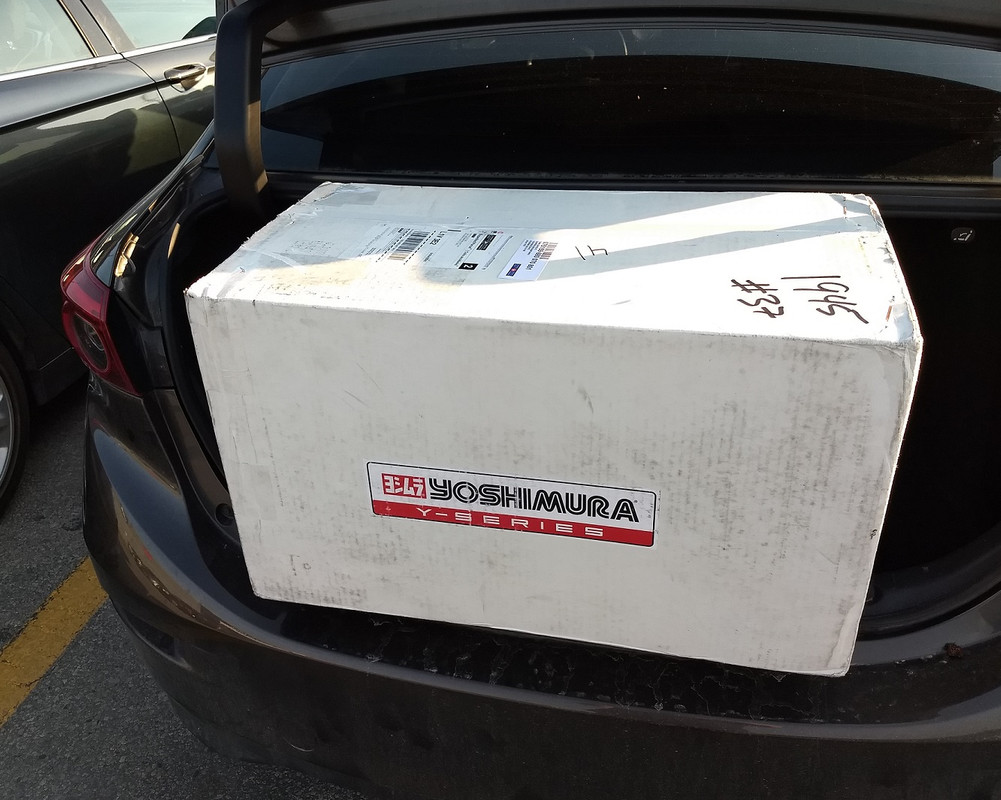
My contribution to the Yoshimura exhaust thread. Figured I have asked enough questions, it's time to contribute something. Yeah, I know it's not the lastest news, but it's experience just the same. Here is the beast being slid into my trunk. it arrived here in Pickering, a burb of Toronto, all the way from BC via Canada Post in less than a week. Gotta hand it to Canada Post, they ain't no slouch. I love picking up a Yoshimura exhaust from the Shoppers Drug Mart Post Office...lol.
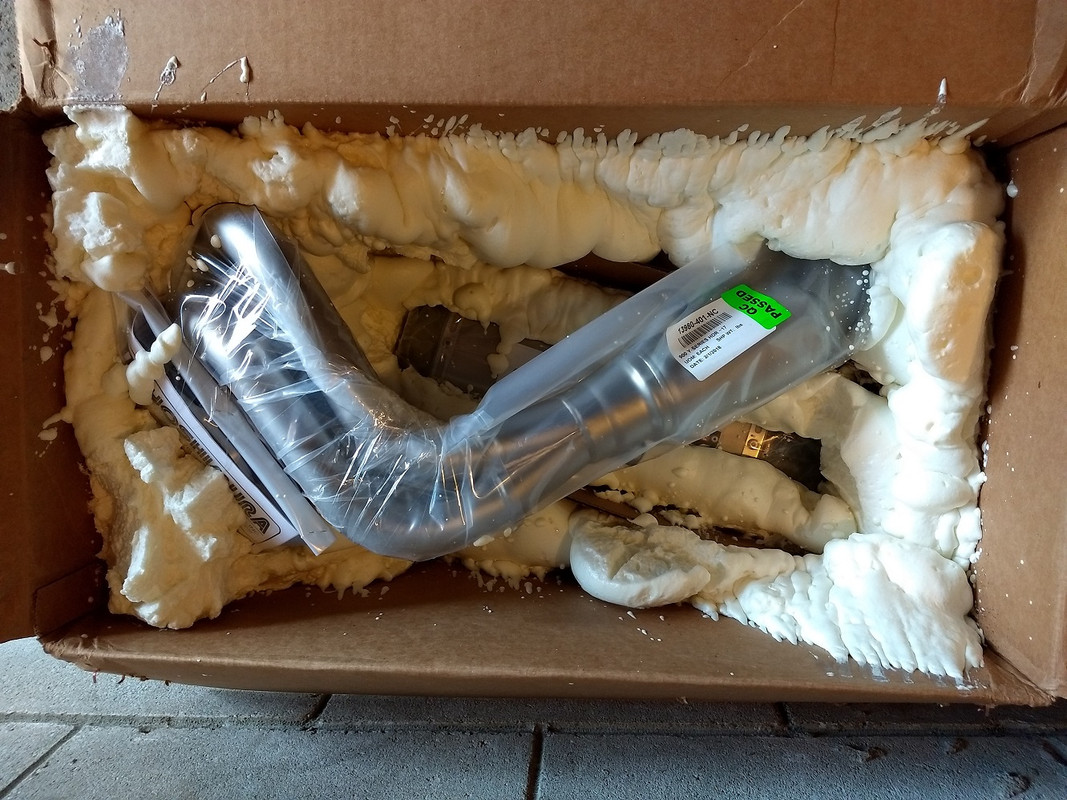
My best weight of 3 tries with a bathroom scale reports 12.6 LBS. Going to pick up three exhaust manifold gaskets on my way home from work today and set aside the few tools I need including torque wrench, then clear space in the garage. Hopefully with a friend this should be short work. I don't have any mineral spirits so I may just wipe it down with a cloth damp with iosopropyl alcohol before throwing it on the bike and starting it up. I will try to take a video of the exhaust in action after install.
-
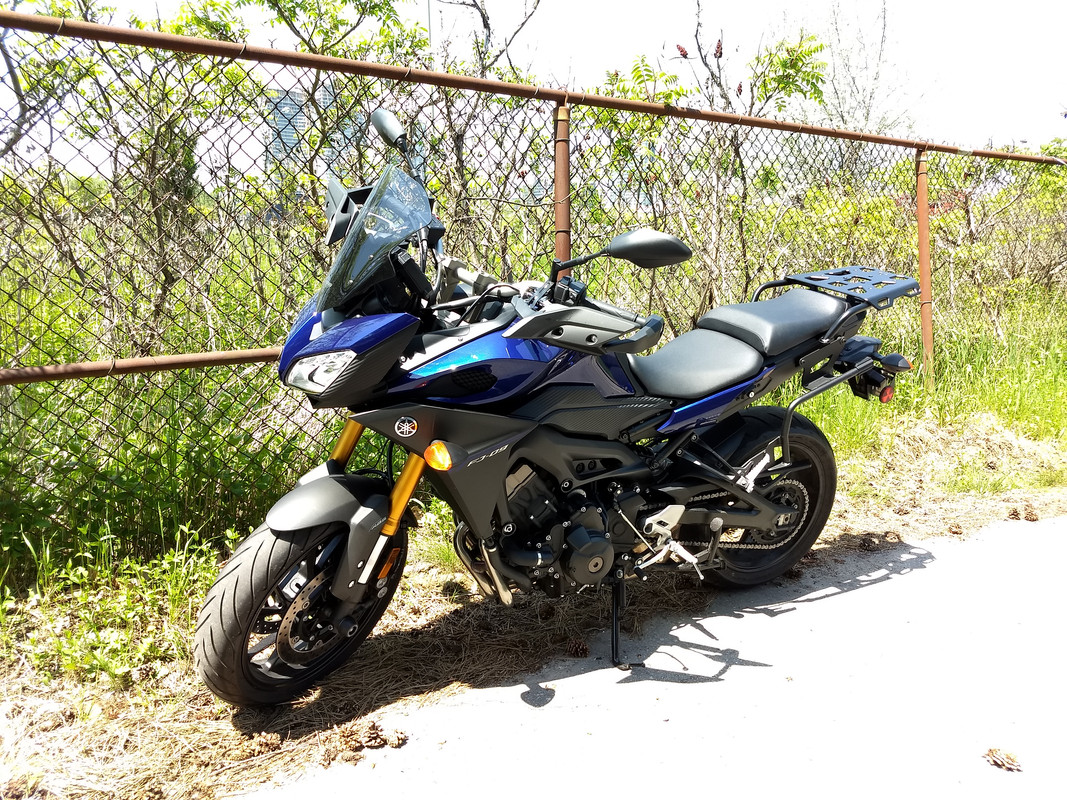
I think I said a looong time ago soon after I bought my bike that I would post a photo...so...at long last, here it is in all it's glory. My 2017 FJ09 parked at work
 It will look different as more things are upgraded. The Yoshimura Exhaust and Sargent seat are not yet installed. The surroundings are blown out because I had to tweak the lighting so you could see the bike. The sun is not on the best side in this photo.
-
Fair enough. So 14 LBS/FT or 20 NM is good for the exhaust header bolts?
-
The Yoshimura exhaust is at the Post Office waiting patiently for me If I have at least one friend, a torque wrench and a wide open garage, how much time should it take to remove the oem and install the Yosh?
P.S. I asked a few of you owners some questions in messages. I guess I could have asked here.

 It will look different as more things are upgraded. The Yoshimura Exhaust and Sargent seat are not yet installed. The surroundings are blown out because I had to tweak the lighting so you could see the bike. The sun is not on the best side in this photo.
Windscreen comparo. MRA vs Ermax!
in FJ-09 Windshields
Posted
Sorry, no I did not.